Roasting root veggies brings out their natural sweetness and pure maple syrup gives them a delicious caramel flavor. Kids will love this dish! Served cold, it makes a quick and nutritious snack.
2lbsroot vegetables – cut into ½” pieces(try carrots, beets, parsnips, rutabaga, or turnips)
2tbspextra virgin olive oil
2tbsppure maple syrup
¼tspsea salt
½tspground turmeric
pinchfreshly ground black pepper
Method
Preheat oven to 300°F. Spray a jelly roll pan with non-stick spray. Stir together olive oil and maple syrup and toss with vegetables. Spread evenly on pan and sprinkle with remaining seasonings.
Bake for 20 to 30 minutes until cooked to desired tenderness. Leave in long enough for vegetables to caramelize a bit. Also delicious served cold.
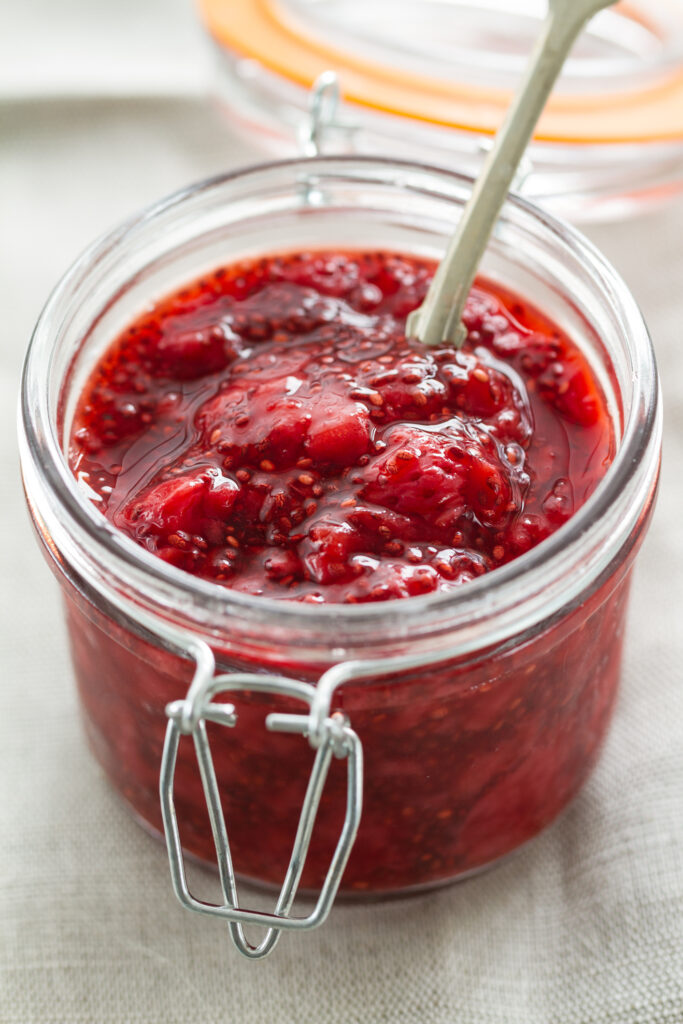
Closeup of tasty appetizing fruit strawberry jam with chia seeds in jar. Selective focus.
A delicious and nutritious spring favorite with no refined white sugar. A great sweet-tart combo for your morning toast. Makes approximately 2 pints and can be frozen for up to 3 months.
3tbspchia seeds(may need more depending on juiciness of rhubarb)
Method
In sauce pan over medium heat, cook rhubarb, strawberries, orange juice, and maple syrup until it comes to a boil.
Reduce heat to medium low and let simmer for about 15 minutes until fruit breaks down. Stir occasionally to keep from burning and use a potato masher to break up big chunks.
Reduce heat to low and stir in chia seeds and let simmer for another 15 minutes.
Turn heat off and let sit for 10 minutes. (Chia seeds will expand as it cools, thickening up the jam.)
Scoop jam out with a spoon — it should slide slowly down the spoon. If not, add another tablespoon of chia seeds and let sit for another 10 minutes.
Refrigerate for up to 4 weeks or freeze in an airtight container for up to 3 months.
Bring milk and cinnamon to simmer over medium-low heat. Whisk frequently while cooking, simmer for about 5 minutes. Add remaining ingredients (except garnishes) and whisk until incorporated and heated through. Pour into two mugs and garnish. Enjoy with a friend and a warm fire!
1/4tspbutter, cream, or oil (for dairy-free)<optional>
pinch of salt<optional>
2cupspure maple syrup (Grade A)
Method
Boil all ingredients. Cook without stirring to 235°F (or 23°F over the boiling point).
While boiling, fill a large bowl with ice and water and nestle another heavy duty saucepan in this ice (do not let water get in the pot!).
When the batch reaches the proper temperature, quickly pour into the pan sitting in ice – do not stir or let water lap over edge and let cool for about 15 minutes.
When it’s cooled to about 100°F, remove from the ice bath and start stirring with a wooden spoon. This will take some time!
When it turns opaque and starts to lose its shine, quickly pour into a jar. Serve immediately or store in the refrigerator.
Notes
*The first two ingredients are optional but help to keep foam down during boiling.
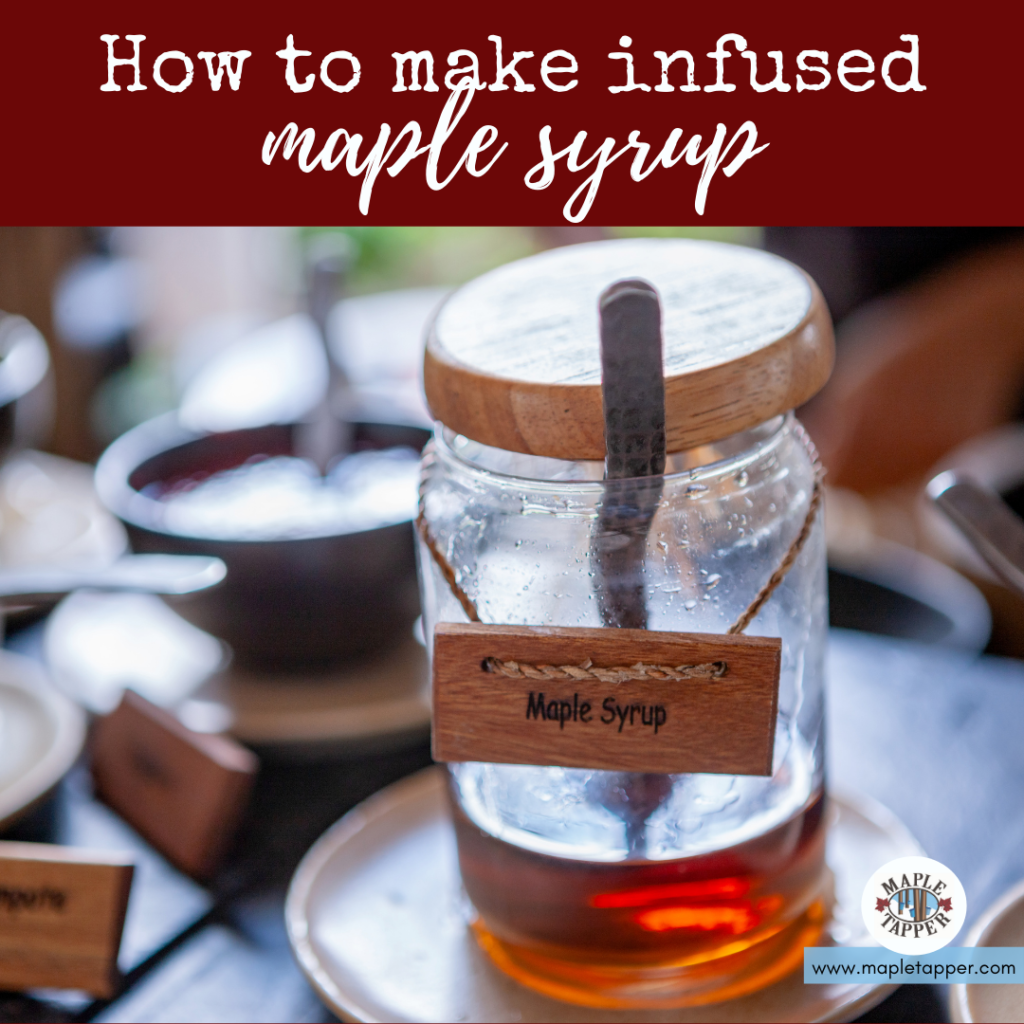
While we all love the taste of pure maple syrup, it’s also fun to play around with blends and change it up a little bit. Infusions are so hot right now, we thought we’d try it with our syrup. We hit up our friends on maple tapping blogs and social media channels and this is the method most seemed to agree on. Definitely try this in small batches until you’re sure you like it. And don’t choose infusion ingredients that could spoil while in the syrup (i.e. fresh fruit or things that might break down and be difficult to strain out).A few fun ideas: vanilla beans, coffee beans, or cinnamon sticks (lightly scrape or crush them to release flavor); whole nutmeg, star anise, peppercorns, or cloves; even dried chili or chipotle peppers. We recommend putting your ingredients in a tea infuser or wrap in cheesecloth to make it easier to remove them.
Instructions
Make syrup as usual, getting it to 219°F and filtering as you always do, and reserve the amount you intend to infuse.
Into this set aside jar, add your extras. Let steep for about one hour – taste at the half-hour mark for flavor intensity.
Remove the ingredients, reheat syrup to at least 180°F, filter if desired to remove sugar sand, and seal as usual.
For a fun presentation, drop a vanilla bean (or cinnamon stick) in the jar before sealing.
Golden syrup drizzling down over hot buttered pancakes with a strawberry garnish.
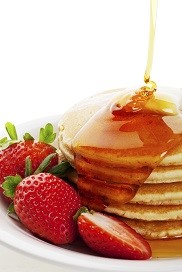
Of course, your first meal of homemade maple syrup just has to be a big stack of pancakes! This is what you worked for all season and it tastes so good. After you’ve had your fill of flapjacks – and still have a pantry full of pure maple syrup – you’ll want to venture past the breakfast table.
Pure maple syrup can easily be used as a replacement for sugar but obviously it will impart a maple flavor to your dish. Generally, one cup of pure maple syrup equals one cup of sugar and can be swapped out in most recipes. For cookies and cakes that also use liquid ingredients, just reduce the liquids by three tablespoons for each cup of maple syrup used.
We’ll add a couple recipes each week during the season and send out a link in our newsletter. If you’d like to get these yummy recipes (and our really helpful newsletter!), click here.
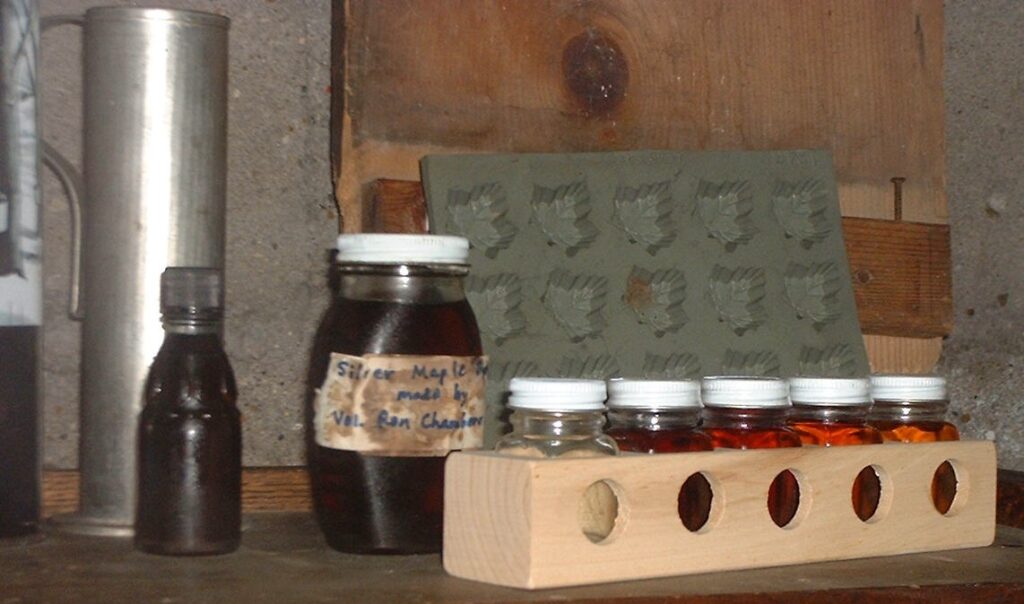
Because sugar was scarce but sugar maple trees abundant in pioneer days, many of their sweet treats were made from maple syrup – and those recipes are still good today. Try some of these this year, you can use already-bottled syrup or make them during your initial boiling phase. Be sure, though, to calibrate your thermometer each time you boil syrup (click herefor how to do that).
Granulated Maple Sugar. On a non-humid day, heat syrup to 252°F to 257°F (or 40°F to 45°F above the boiling point) and transfer immediately to a flat pan. Stir within this pan until it becomes granulated and all the moisture is gone. Sieve through a coarse screen (1/8-inch hardware screen) to create uniform granules. Use as a one-to-one white sugar replacement.
Hard Molded Sugar. Follow the same steps for granulated sugar but do not put through a screen. Instead pack into candy molds – be sure to follow the manufacturer’s directions on prepping and cleaning the molds.
Molded Soft Sugar Candy. Heat syrup to 245°F (or 33°F above the boiling point,) pour into a flat pan, and allow to cool undisturbed to 200°F but no lower than 160°F. Once it drops to this temperature, stir until the syrup is soft and pliable and pour or pack into molds. When cool, poured candies will have a glazed surface.
Hard Maple Sugar Candy. Boil the syrup to 240°F to 242°F (or 28°F to 30°F above the boiling point.) Keep at least 1½-inches of liquid in the pan to avoid scorching. Allow to cool to 150°F and pour or pack into molds.
Jack Wax or Maple-on-Snow.Kids will love this one! Start out by filling a pan with clean snow or shaved ice and keep frozen. The boiling range is wide for this treat: at the low end of 230°F (or 18°F above the boiling point) you’ll get a taffy-like candy while at the high end of 252°F (or 40°F above the boiling point) you’ll have a glass-like candy. Consistency changes within this temperature range. Once your syrup has reached your preferred temperature, immediately pour it in ribbons on the snow or ice. It will be done instantly and is typically eaten right away, as it does not keep well.
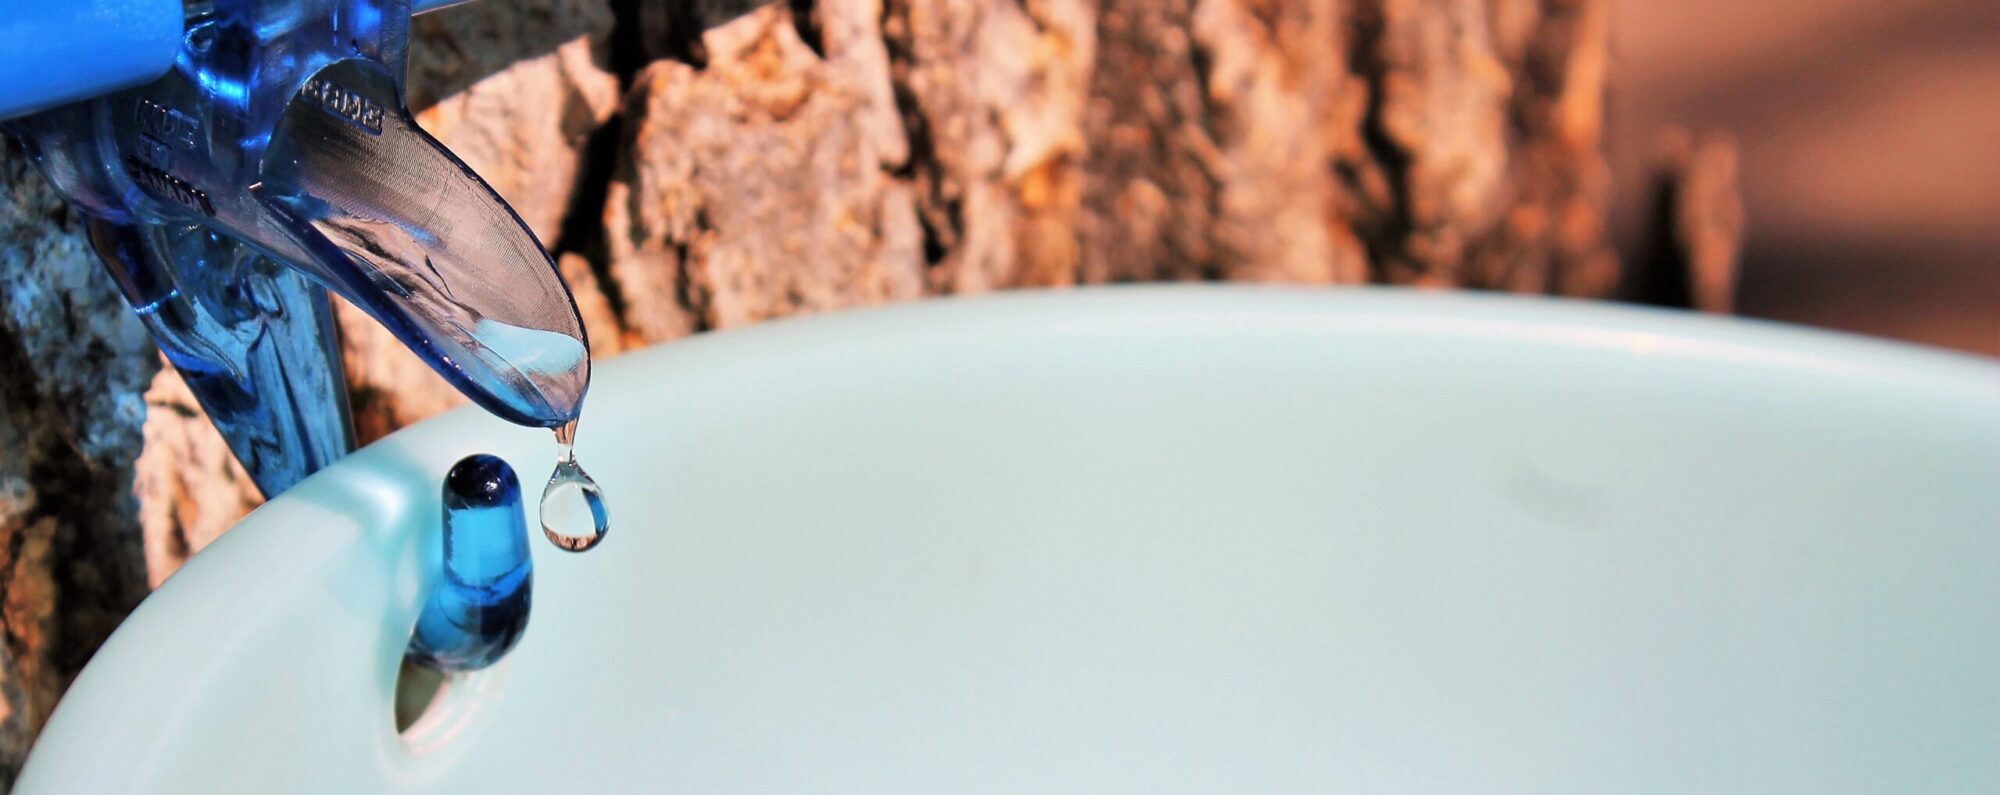
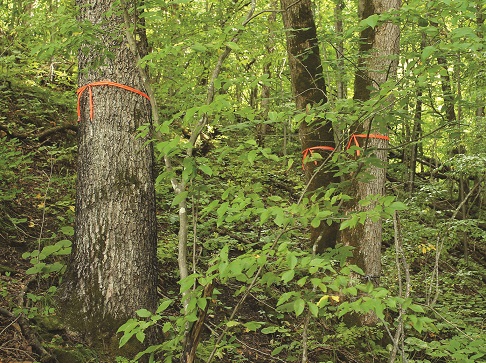
For first time tappers (and sometimes, even seasoned sugarmakers), finding your sugar maples in the woods can be much harder than you expect! You think you’ll remember where they are but when everything is gray, brown, and white, the trees start to look the same! And with no leaves (or even trails) to point you in the right direction, you’re standing in the cold trying to identify trees by the bark.
Make your life easier – and have a good excuse to visit the woods in the summer or fall – and go out and mark your trees while they’re in full leaf. The quickest method we’ve found is tying bright surveyor’s ribbon tape around the trees we plan to tap. This can be found at most hardware and home improvement stores or online and comes in a variety of colors. It’s weatherproof and slightly stretchy so it won’t constrict the tree. And it gives you a reason to go out and hug your trees (you know you want to)! For more advanced sugarbush keepers, this ribbon tape is also a good way to identify non-maple trees to be trimmed for easier access or trailmaking.
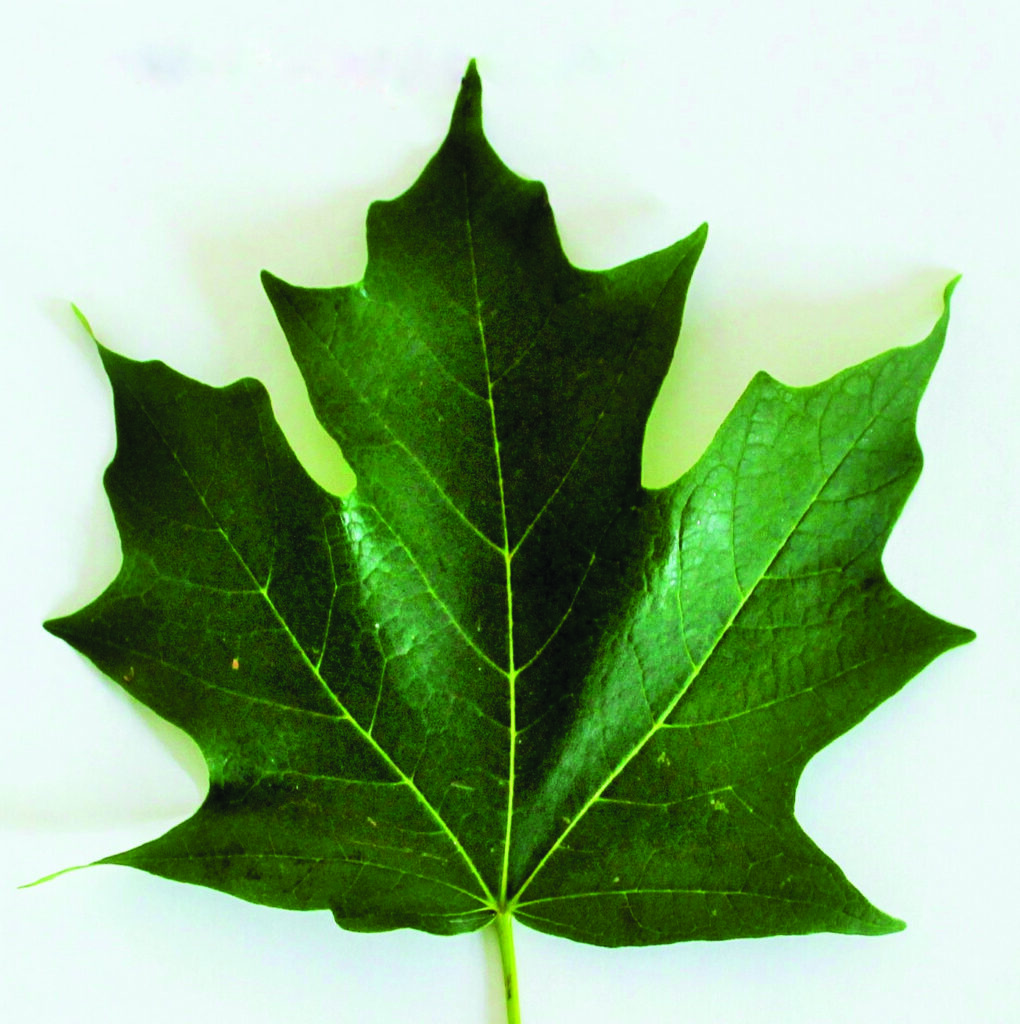
While you can tap soft maples, walnut, and birch (details on tapping those varieties here), sugarmakers choose hard maples because the sap has the highest sugar content (so, much shorter boiling time) and the sweetest, most robust maple flavor. If you’re still learning how to identify a sugar or hard maple, look first at the leaves and the seeds (aka spinners or helicopters). These will quickly give you the info you need to find the hard maples:
Hard maples have more rounded leaf lobes; more brightly colored autumn colors (especially reds and oranges), and drop seeds in the fall).
Soft maples have more “toothed” or pointed leaf lobes, typically more yellow colors in the fall, and drop seeds in the spring.
Since sugar shacks opened, pure maple syrup was graded by color and sugar content and each region kind of did its own thing. Yes, it was always sweet and delicious but the consistency across the country (or internationally) was just not there. So in 2014, the International Maple Syrup Institute proposed a change to the grading system which has been adopted both by the USDA and the CFIA (the Canadian equivalent).
Syrup is still graded in four categories but now by color. This handy chart from the Wisconsin Maple Syrup Producer’s Association compares the old grades to the new ones. So if you’re looking for what used to be called Grade B, you’d choose Grade A: Dark. The darker the syrup, the more concentrated the sugar and the more robust the flavor.
How to Cook with Each Grade
Because the darker the color, the more intense the flavor, choose the syrup that best matches what you’re cooking:
Grade A: Golden Color. Has a light, delicate flavor perfect for replacing refined white sugar but also delicious on oatmeal or yogurt.
Grade A: Amber Color. A bit more hardy flavored and probably the most commonly used, this is your gold standard and perfect on its own over waffles, mixed into marinades, or used as a delicious cocktail base.
Grade A: Dark Color. Not for the faint of heart, this is the syrup for more adventurous chefs. A little bit goes a long ways but perfect for thick spicy sauces (such as BBQ); baked beans, or marinades. Also the choice for Paleo dieters.
Grade A: Very Dark Color. The strongest tasting of all, this grade was formerly reserved for commercial use only.
So what makes syrup a certain grade? Many factors affect the color, taste, and even smell of pure maple syrup. Everything from the soil around the tree to the weather at time of tapping to the time of year adds to creating syrup’s unique appearance and taste. In the beginning weeks of the season, the color and the flavor are lighter and as the season warms, the maple syrup turns darker and the flavor becomes more robust. Grade only matters if you’re selling syrup so check with your local Extension Office for more information on accepted grading techniques.
From the Paleo Diet to Sugarbusters to the South Beach Diet – every diet craze that’s swept the country has had one thing in common: avoiding refined sugars. But what to do when your sweet tooth doesn’t agree? Try pure maple syrup! This all-natural organic sweetener is completely unrefined (other than boiling off the water) and if you make it yourself, it’s really inexpensive!
Of course, maple syrup is still a sugar so enjoy in moderation especially if you’re on a low-sugar diet. The good news? Unlike refined white sugar, pure maple syrup has a lower glycemic index, is much more nutrient-dense and rich in antioxidants. The antioxidant levels are comparable to a banana and one tablespoon of pure maple syrup contains:
1% Daily Value of Calcium, Iron, Magnesium, Potassium, and Copper.
6% Daily Value of Zinc.
33% Daily Value of Manganese.
Pure maple syrup can be easily substituted for white sugar in most recipes but it will naturally give the dish a slight maple flavor. If the recipe calls for 1 cup of white sugar, use approximately 3/4 cup of pure maple syrup. It will also add a bit more moisture to your recipe compared to refined sugar. Adjust recipes by reducing liquids by 3 Tablespoons for every cup of maple syrup.
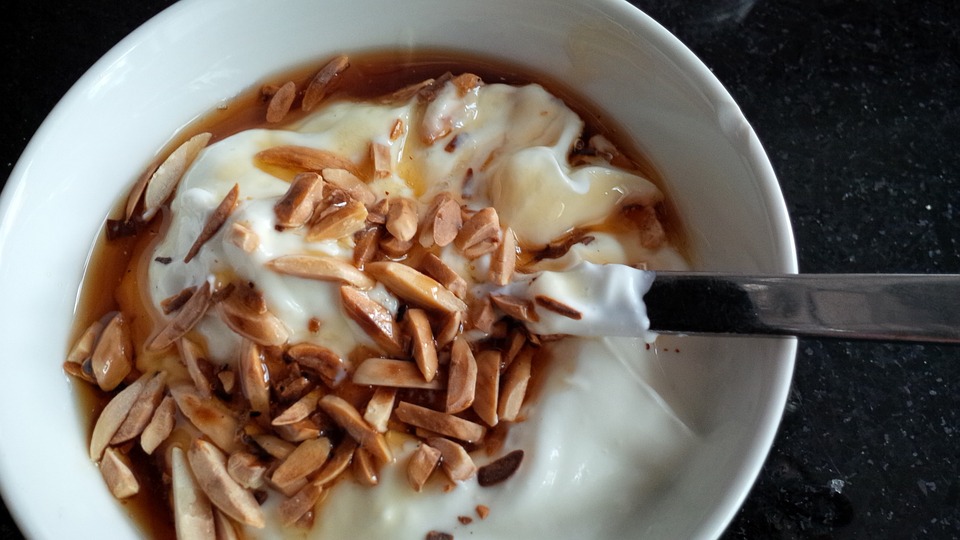
Naturally improve your morning yogurt! Greek yogurt is such a healthy choice for your family but it’s usually filled with sugar (and more expensive because of it!). Instead of buying the pre-flavored yogurt cups, sweeten plain Greek yogurt with pure maple syrup and liven it up with these delicious and nutritious additions. Kids will love it and the high-protein will really power them up for the day.
1 cup plain Greek Yogurt
½ cup mixed nuts or seed, dried fruit, or granola (unsweetened)
¼ teaspoon each: turmeric, ginger, cinnamon, and cardamom
1 tablespoon pure maple syrup
Mix and serve. For smoothies, swap out the nuts for frozen bananas or chunked up fruit or berries.
A few years ago many areas of the United States saw a very early sap run so some folks started collecting sap in mid-January, At first they had a good run but eventually saw decreased output and some tapholes dried up completely.
It was unusual and so many sugarmakers we’re asking us, we went to the experts at our favorite extension services. Many thanks to University of Vermont, Ohio State University, University of Minnesota, and Cornell University for patiently answering our questions and offering some helpful suggestions. Here’s what they think happened and what you can do to keep on tapping after your lines seem to clog up.
For starters, this all assumes the tree has not budded out – if that’s the case, the season is done because the syrup will taste bad.
Two reasons for an early shutdown of your taps:
No. 1: Your area has stayed above freezing for too long. Without the freeze/thaw cycle, the sap flow stops or is greatly decreased. Freezing is required to produce the negative stem pressure needed to draw more ground moisture into the stem and crown of the tree. If below freezing nights and above freezing days return to your sugarbush, the sap may resume its flow so leave your spiles in and see what happens.
Author’s Note: My own experience bears this out. During that 2017 season in Minnesota we tapped on 2/18 when the 10-day forecast looked sappy. Right away, we had a good sap run but by 2/20 the temperatures were staying in the high 50s and even into the 60s. That’s right, Minnesota in February! I left the spiles in but we had no sap during these warm days. Then more normal weather moved in and about a day afterwards, sap started flowing again. It wasn’t back to the previous amount but it was steady.
No. 2: Your area got really warm (in the 60s or higher) and the sap hole is probably plugged (some call it “dried up” which is not technically accurate). When the temperature is this warm, bacteria grows and thrives in a sugary substance like sap. It will travel into your spile (especially if you’re using a bucket for tapping) get into the tree and plug the xylem vessels. (Imagine large straws extending up and down the tree – this is what you tap into to extract the sap). Don’t worry, this is the natural mechanism through which trees heal themselves. Great for the tree but not so good for the sugarmaker. Once this happens, that taphole is done.
Redrilling it or reaming it out would only further damage the tree so that is not recommended and it would not remove the “plug” that’s above and below the taphole. If you suspect this is the case, leave your spiles in until another freeze/thaw cycle and see if the sap will run. If not, remove them and hope for better weather next season.
One Extension Office pointed out that having snow pack around your tree will help keep the temperature down a bit which will inhibit bacteria growth. They also mentioned that using a closed tapping system such as taps and tubes, shop here gives bacteria less opportunity to enter the system.
Tapping More Holes?
So, if you’ve determined your taphole is a goner, can you drill another hole? This is a maybe and it depends on how many tapholes you already have in that tree (see the chart below) and if you can find a new spot at least 6” away from the existing tapholes. If you can meet the necessary criteria, you can try drilling another taphole but make sure the weather forecast is favorable.
Taps per Diameter Guide
12”- 18” diameter = 1 tap
18” – 32” diameter = up to 3 taps
32” or more diameter = up to 6 taps
One interesting suggestion I heard was to tap your trees in sequence to account for weird weather patterns. For instance, if you normally tap 20 trees, tap ten during the first warm spell and tap the remainder during the normal tapping season in March (depending, of course, on the temperature forecast and before the tree has bloomed). This does add more work to the cooking but we have seen that it’s possible to freeze sap without much loss.