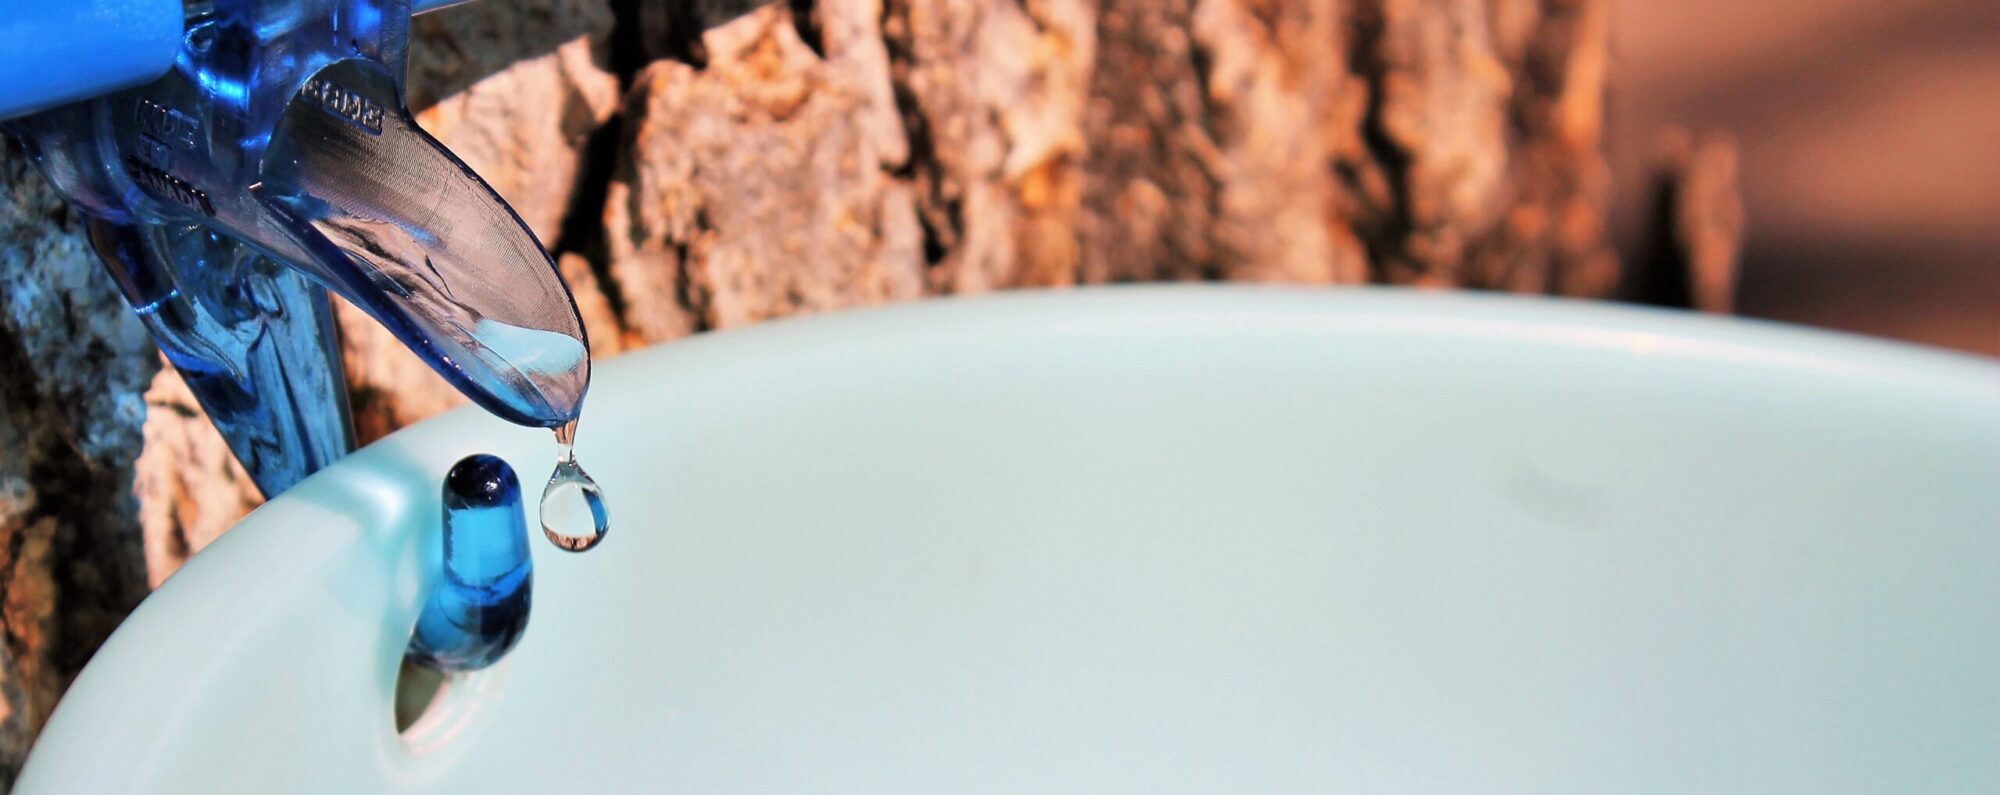
Maple sap cooking methods range from super simple to full-blown sugar shacks with high level equipment. So where do you start as a home sugarmaker just wanting to boil a few gallons of sap into pure maple syrup? This article will walk you through the most common DIY, proven, at-home cooking methods so you can get ready for the season.
Start with Safety
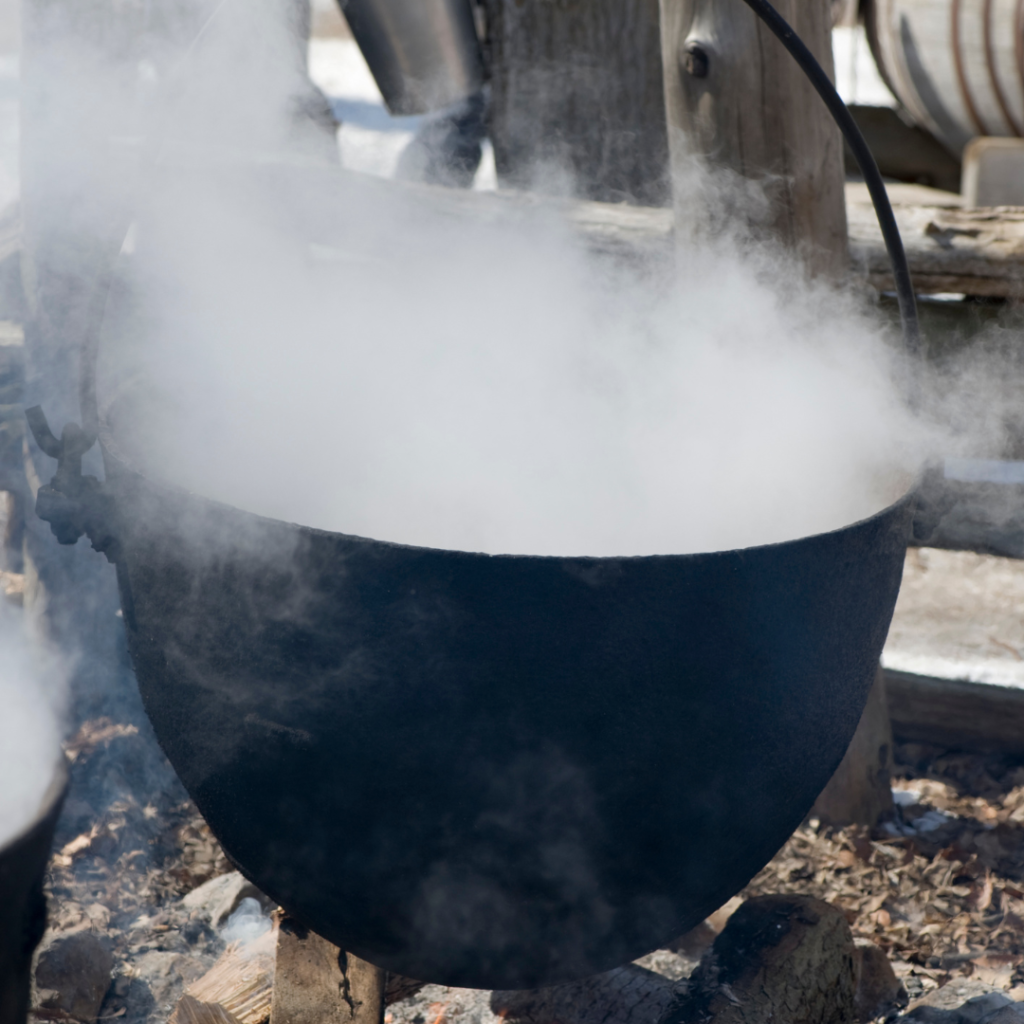
Before we get any further into the boiling, let’s talk safety. During this process, you will be working with fire or flammable gases and handling large quantities of boiling hot, sticky syrup. Please be careful, especially if children are helping you. Wear long sleeves, pants, and gloves to protect from splatters. Don’t try to pour sap from large pans without help. Make sure you have a first aid kid and a bucket of water or hose nearby for emergencies.
Why Do We Boil Sap?
Maple sap is approximately 95% water and your job is to remove the water and concentrate the sugar into pure maple syrup. The flavor of your finished syrup is created by the caramelization of the sugars during the boiling process. The longer the sap is boiled in the pan, the darker and stronger the flavors become. Along with the tree qualities and storage/collection issues, flavor can also be affected by the cleanliness of your cooking and storage systems. Stainless steel is the best choice for boiling and glass jars or bottles are the best.
Indoors or Outdoors
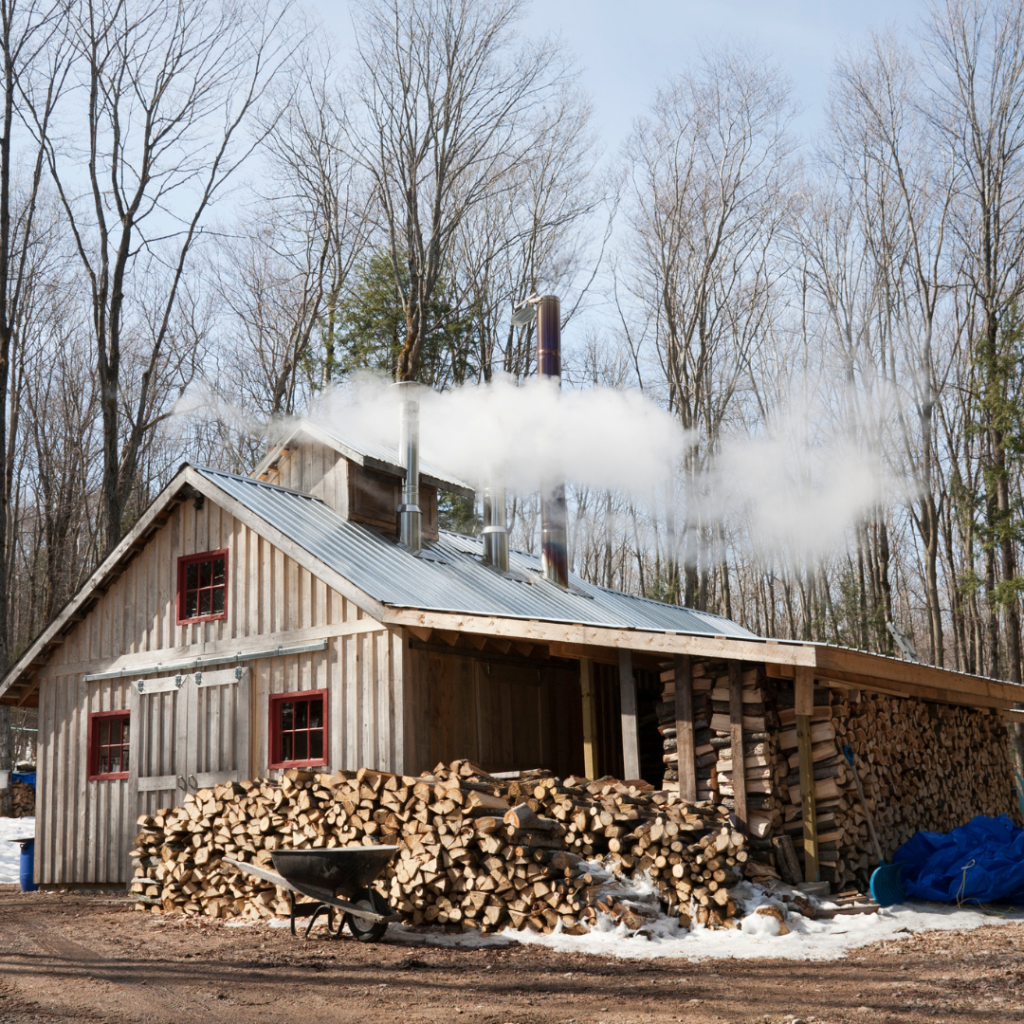
You will be tempted to boil your sap down on the kitchen stove – be warned that everything around the pot will be sticky! Even the steam coming off your pot contains tiny bits of sugar which will cling to every surface. Instead of dealing with a sticky mess, make a space for yourself outside. You’ll need overhead shelter in case it starts to rain or snow or the weather turns cold while you’re boiling. This is why many build a “sugar shack” but a temporary outdoor space with a tarp ready to cover overhead works just fine. For small batches you can finish your syrup inside on the kitchen stove.
What Type of Cooker or Fuel Source
The boiling down process will take many, many hours and greatly depends on how much sap you’re starting with. The choice really depends on your access to wood or propane, how much space you have, and how much syrup you plan to make.
The key is surface area – the more surface area in the pan, the faster water will evaporate. This is why most people choose an oblong flat pan to boil in.
Small batches (10 gallons sap per year) can be cooked on a single-burner propane cooker (such as an outdoor fryer/turkey cooker). Larger batches require longer boils and bigger pans and most upgrade to a multi-burner propane cooker or a wood-fired evaporator. You can buy complete evaporator set-ups online or make your own. The DIY options are endless as long as you have time, space, and are a little handy with basic tools.
Building your own wood “stove” is fairly simple and does not require any special skills. Look online for “cement block evaporator plans” and you will find hundreds of ideas. Better yet, visit with another tapper and see how they’ve built their cooker. One of the tappers consulted for in our research used his brother’s metal working skills to build a cooker out of an old 55-gallon drum and an evaporator pan to fit the stove. The only requirement for your cooker is that it can sufficiently hold your pan 18- to 24-inches above the wood fire.
Along with your chosen cooking methods, you’ll need abundant fuel close to your cooking station – enough to last the many hours of boiling. Additionally, you’ll need sufficient lighting in case boiling or bottling goes past dark.
Evaporator and Boiling Pans
For a small-batch hobbyist the boiling process is less complex than for the commercial cooker. Large operations typically use a continuous-feed evaporator which continuously heats the sap, feeds it into another constantly-boiling evaporator pan, and then pours it off for finishing. This is necessary because adding cold sap to a boiling evaporator pan will cause the whole batch’s temperature to drop which will lengthen the boiling time. Most hobbyist tappers use multiple pots and pans to re-create this four-step process:
- The first batch of sap for the day is poured into the large evaporator pan, leaving at least 6” to 8” of headroom to prevent boiling over. If all the sap you have fits in your pan, you do not need to do Step 2.
2. Once the sap in the evaporator pan starts to boil and condense, you can start warming extra sap in your other smaller pans.
3. After this extra sap is heated to boiling, pour it into the larger pan remembering to leave headroom to prevent boil over. Continue this process until all your sap is in the large evaporator pan and boil the entire batch to the finishing point.
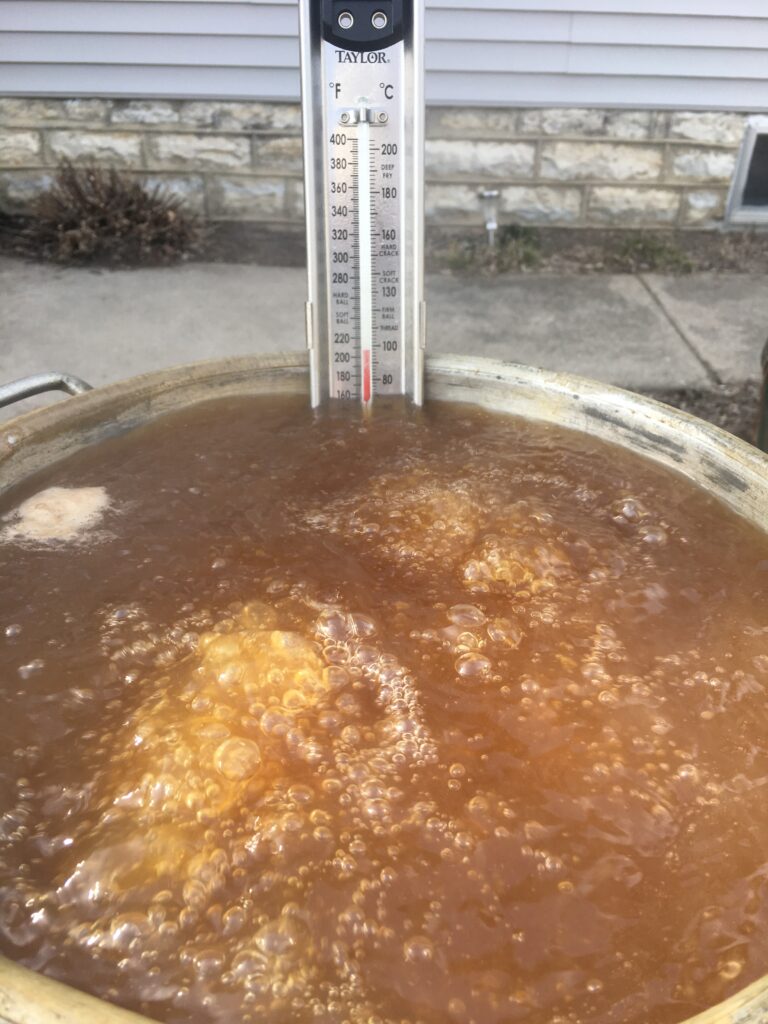
4. Finally, as the sap nears the 216°F mark in the large evaporator pan, it’s filtered and poured into large kettle (usually the same kettle you used to prewarm it) and then put on a smaller heat source to finish it. This last step keeps the syrup from becoming too shallow in the pan which can lead to overheating or burning.
The rate at which your water evaporates depends on numerous factors such as: pan size and construction; type of heat source; and even the temperature of sap being added to the evaporator. If using a shallow, rectangular pan with lots of surface area, it takes between 9 and 18 hours to produce one gallon of syrup. With a deep, circular pan, it will take much longer.
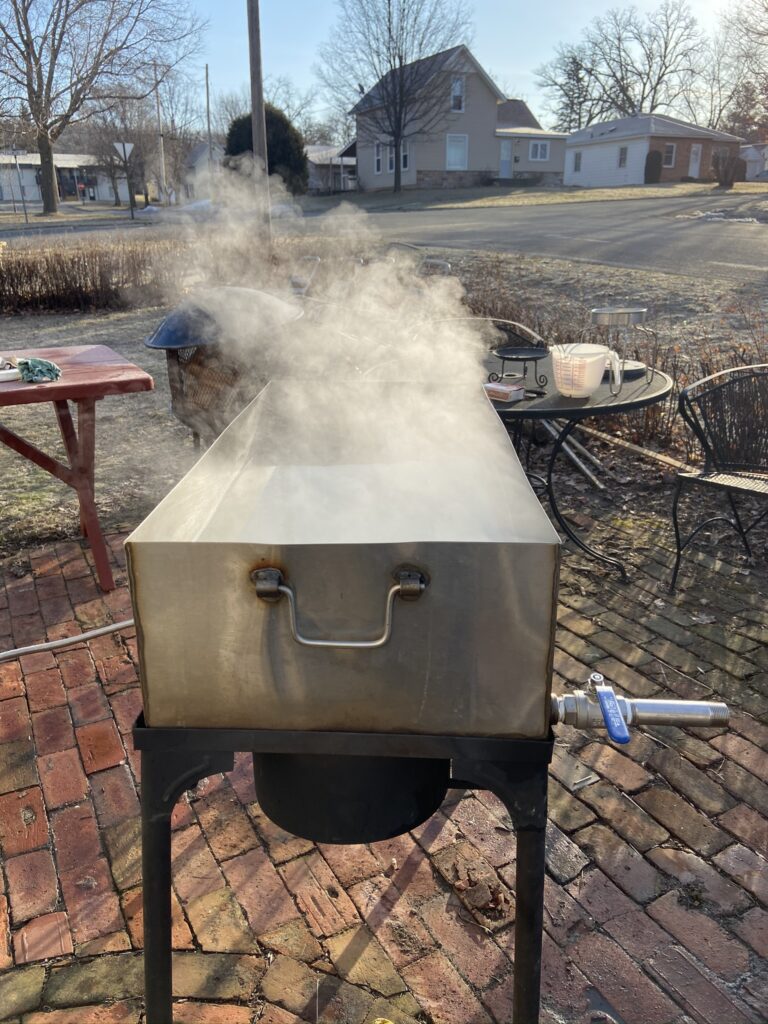
Pre-made hobbyist sized evaporators can be bought online. The advantage of these are they have a draw-off spout which reduces spills and potential burns from trying to pour the boiling sap or syrup out. When buying a pan, choose a heavy-duty pan that can withstand prolonged heat – preferably a large, flat pan with sides at least 6- to 8-inches high to prevent boiling over. Many commercial kitchen supply stores sell large, flat roasting pans which will work for the first stage of boiling but are not thick enough to finish syrup in without burning. A high-quality stock pot works best for the final boiling stage.
You can also find older enamelware or stainless steel pans at auctions, yard sales, or online trading sites – just be sure they are spotless and not corroded or rusty. Keep in mind, though, that whatever system you invent, you will be pouring or moving boiling hot sugary substances out of it! If the pan is too unwieldy or large to move, you could risk serious burns or at least end up spilling your almost-finished syrup.
Make it Portable or Make it Decorative
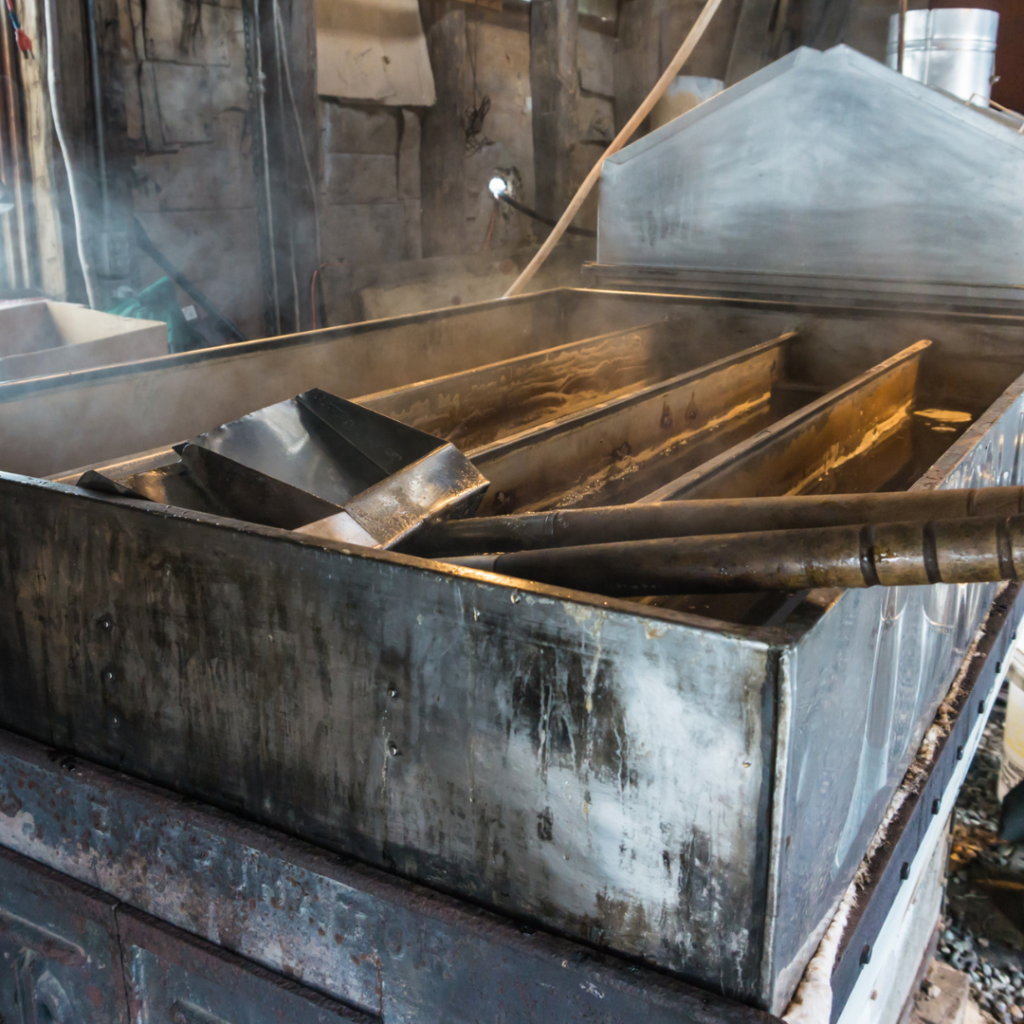
Many wood-fired cookers look similar to backyard brick pizza ovens and you could easily adapt that design to fit your pan. Then after the season, you can still use it! If you don’t want to look at your cooker all year, consider building it out of material you can easily disassemble it or move it once the season is over.
Community Syrup Making
Consider joining forces with friends and neighbors to build a community cooker where everyone brings their sap and shares the process. This is a fun way to build time with family and friends; grow an outdoor-centered hobby; and boil more sap than you can do on your own. Join up with your local online groups to find other sugarmakers in your area. You might be surprised by how many folks are out there doing this same thing!
