Maple Syrup Filtering FAQ

pouring hot maple syrup through two one-quart white filters to remove sugar sand or niter.

Why does my filter seem clogged or slow? This can have two answers:

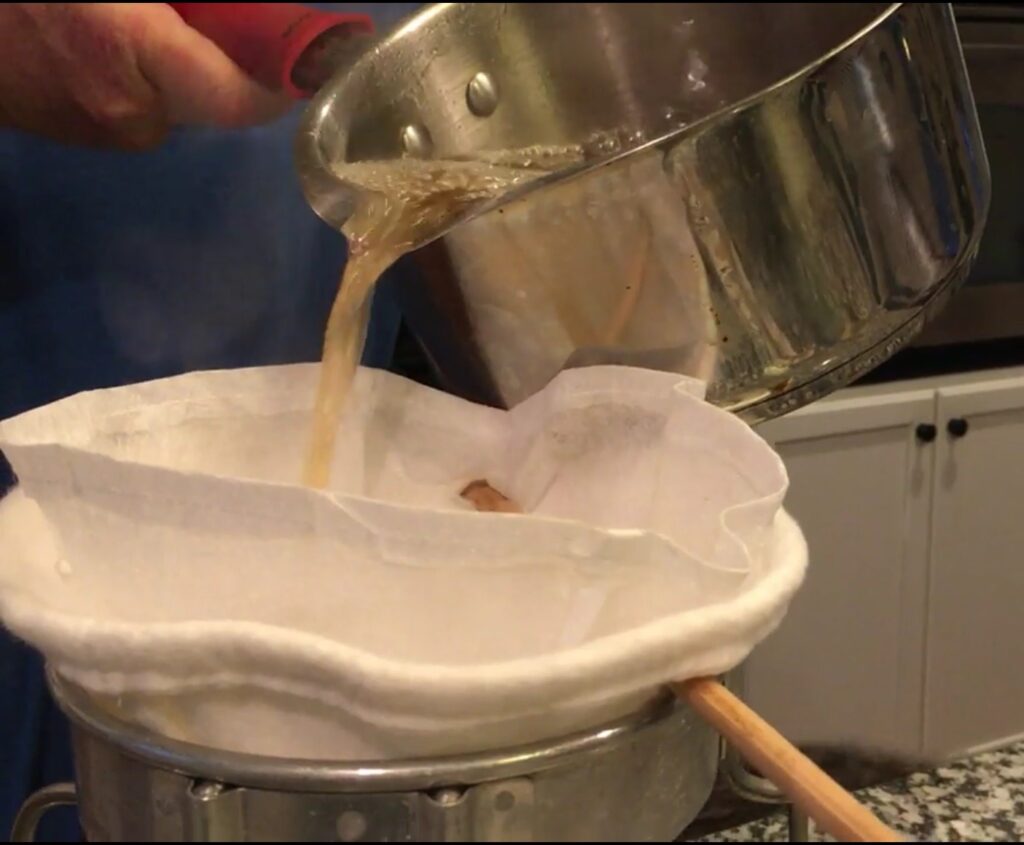
1. The filter is full of sugar sand! Our one-quart filters are designed for small batches (2 to 3 quarts) and after that much syrup, they will start to clog up with sugar sand. To solve this problem, have a second filter set up to use to finish your batch.

2. Alternately, the syrup could be cooling down too much in the filter which makes it flow slower. This is an easy fix: pour only enough to fill one jar at a time. Just set the pan aside, cover it with a lid to keep the heat in, and keep refilling the filter as the syrup level gets down to about ½”. Note: be sure when lifting the lid off your pan, you tip it away from the pan so the moisture does not fall back into the syrup.

Why is the syrup dripping out the upper sides of the filter?

Our filters are made from filter material all the way up so syrup will go through all of it. If you fill it up to the top, the upper part of the filter will get saturated and syrup will start to drip through. Keep the syrup level low (as described in #1) and only as wide as the jar you’re filling.

How do I clean the thick filter?

Your filters should dry out between uses and could grow bacteria is allowed to remain wet. After syrup making, rinse the filter with hot water until all the sugar sand is removed. Filters may remain slightly darker after use and that is okay. Once through rinsed, hang upside down and open so it can drip dry. We usually balance it on a dowel (pointy end up) and prop it in a jar. Do not wring or twist the filter as that can break down the fibers and distort the shape.

Why is my filter brownish?

It is normal for the filter to take on a little brown color after use. Just make sure you’re thoroughly cleaning the filter after each boil with hot water. The spray setting on your sink nozzle works best to rinse away the sugar sand.

Can I reuse filters next year?

Yes! These filters last for a long time as long as they are properly cared for. Don’t wring or twist and always thoroughly dry before putting away. At the end of the season store in a sealed bag in a dry area.

How to Filter Sap

Sediment (sugar sand or niter) in maple syrup.

If you’ve ever seen sediment, cloudiness, or even chunks of sugar in your pure maple syrup, you know what sugar sand (aka niter) is! This is a perfectly edible (and natural) component of syrup but it can easily be removed with filtering. Most sugarmakers filter sap and syrup three times and this article and video describes that quick and easy process. Be sure to use professional filters designed for syrup making (not coffee filters, cheesecloth, or dish towels).

Filters are inexpensive and reusable so it’s a one-time purchase as you get started. We use one-quart filters which are a more manageable size for the home sugarmaker. They fit perfectly into a standard sieve stand and have small slits in each side so you can thread a dowel through and easily balance on the sieve stand so you have both hands free for pouring hot syrup. 

Filters are included with many of our kits but you can also buy them separately here.

Note: If you’re making black walnut syrup, don’t use the Orlon or a similarly thick filter. Walnut sap contains more pectin than maple sap so it’s too thick to run through this type of filter. Try cheesecloth or a thin strip of clean muslin.

This short video shows the entire process: 

Filter #1: This step is done each day as you collect sap to remove debris that may have fallen into your sap bucket (one more reason to use a closed lid system!). Suspend the thinner prefilter over a clean bucket and slowly pour the sap through to seine out debris. When done, rinse this filter with plain hot water, air dry, and save for later. Refrigerate or freeze the sap until ready to boil.

maple-syrup-final-filter-one-quart-julie-fryer-maple-tapper.jpg

Filter #2: This step occurs midway in the boiling process as sap reaches a temperature in the 215°F range. At this point, concentrated sap is moved from the larger pan or evaporator and poured through a thin prefilter into the finishing pot. This removes the majority of sugar sand which can make syrup cloudy.

Filter #3: The third and final filter is done after the sap has reached its finished temperature and is poured into bottles. For this filtering, put the thinner prefilter inside the thicker Orlon filter.  Slowly pour the finished sap through these filters and into clean, hot bottles or jars. Syrup is now done!

Cleaning Filters. As mentioned earlier, these filters are reusable and should last for years if cared for properly. Never wash with detergent or dish soap as this can affect the flavor of finished syrup. After use, simply rinse well in hot water and hang to dry. Do not wring or twist the filters as this can tear them or alter their shape.

 If you’d like to learn more about entire boiling process, click over to this helpful article, “How to Make Maple Syrup.”