Would you like to learn one of the simplest skills that fills your shelves with pure maple syrup? We promise your family will enjoy this winter hobby! If you can run a drill, boil water, and read a candy thermometer, you have the knowledge to get started. And after a few weeks, you’ll have a year’s supply of syrup and the skills you need to do this every year.
And with all the great resources here at Maple Tapper, you’ll always have support! We’re tapping, too, and we’re on call during the whole season plus we’ve shared all that we know in this blog, in our books (included in most kits), and in our new video course (here).
Are you ready to do this? Here’s three simple preseason steps you can do right now:
Step #1 (time required: approximately 15 minutes): Assemble your tools (most of which you probably have in the garage and kitchen already). Here’s what you’ll need:
- Well-charged cordless drill (or manual hand brace) with a 5/16” wood-boring drill bit marked at 1 ½” (with marker or masking tape) from the tip
- A small hammer
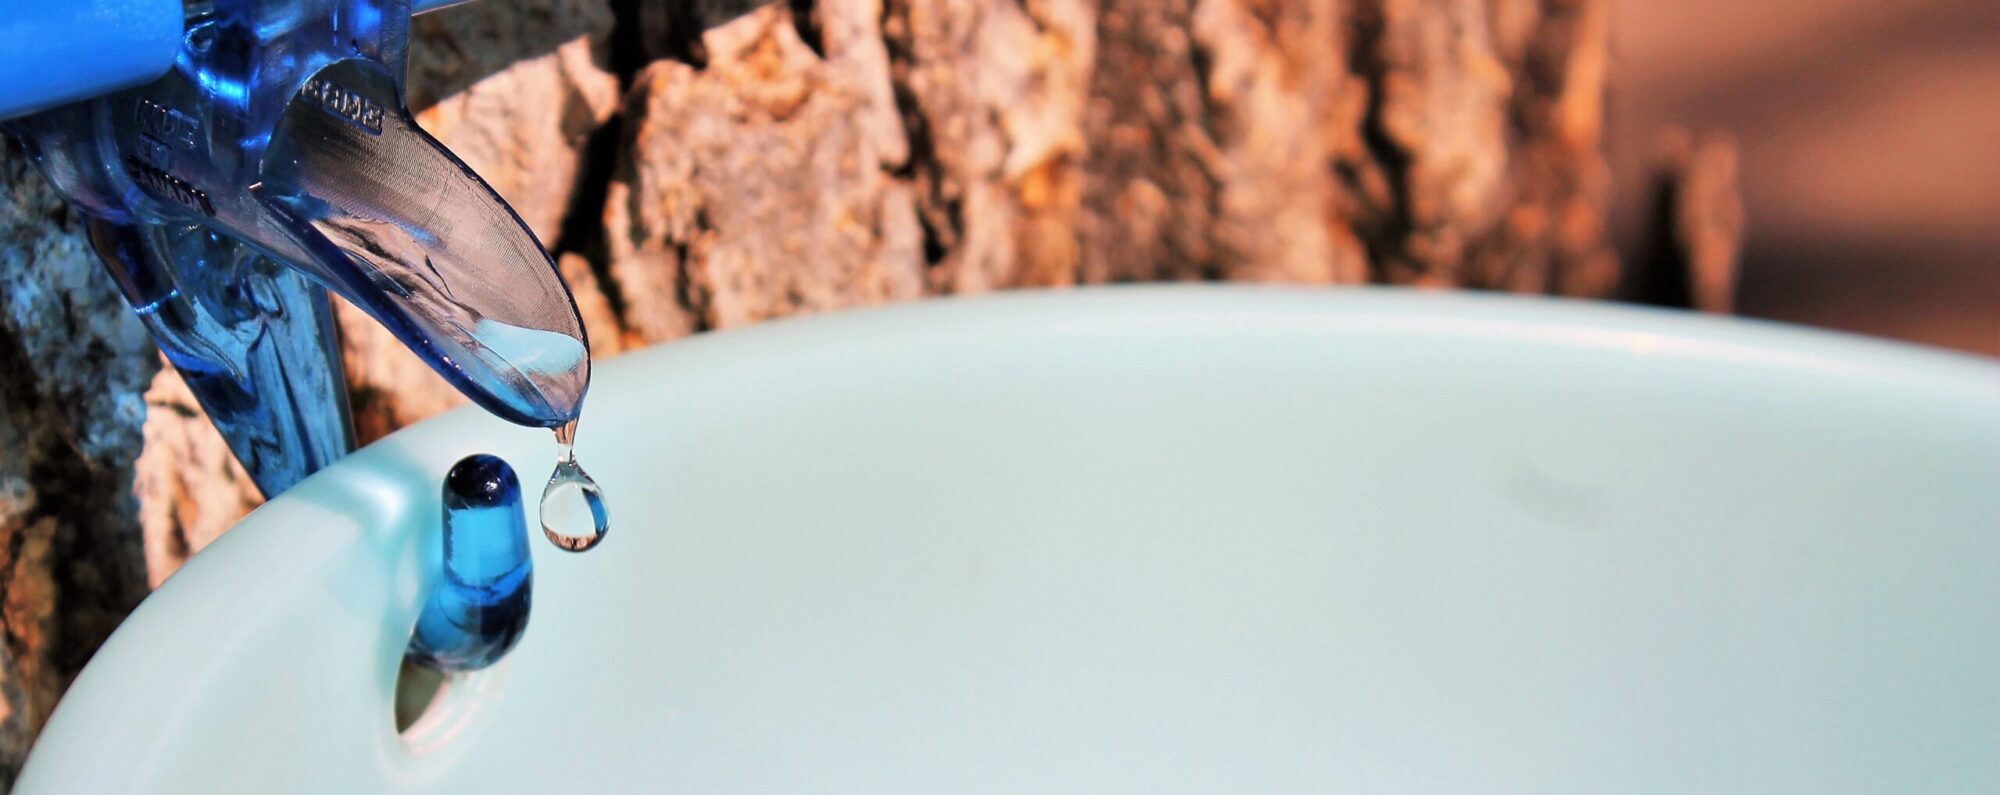
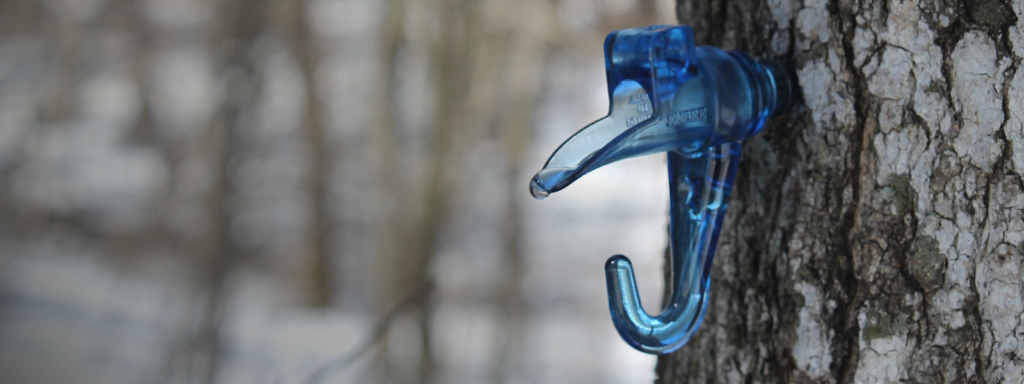
- Spiles (the technical term for tap!) and either tubing or an all-in-one bucket system. The tubes are nice because they store flat but it’s totally your choice. (Shop gear here)
- Collection containers such as buckets or gallon jugs with lids. Avoid containers that have held milk, pickle juice, or oily substances and do not wash with dish soap – these all can impart weird flavors to your sap.
- Syrup making filters – try our one-quart, DIY filters (here)
- Kitchen utensils; pots for cooking; a way to boil your sap (more on that at this article: “Maple Sap DIY Cooking Methods”; and jars with sealable lids (Mason jars with lids/rings work well)..
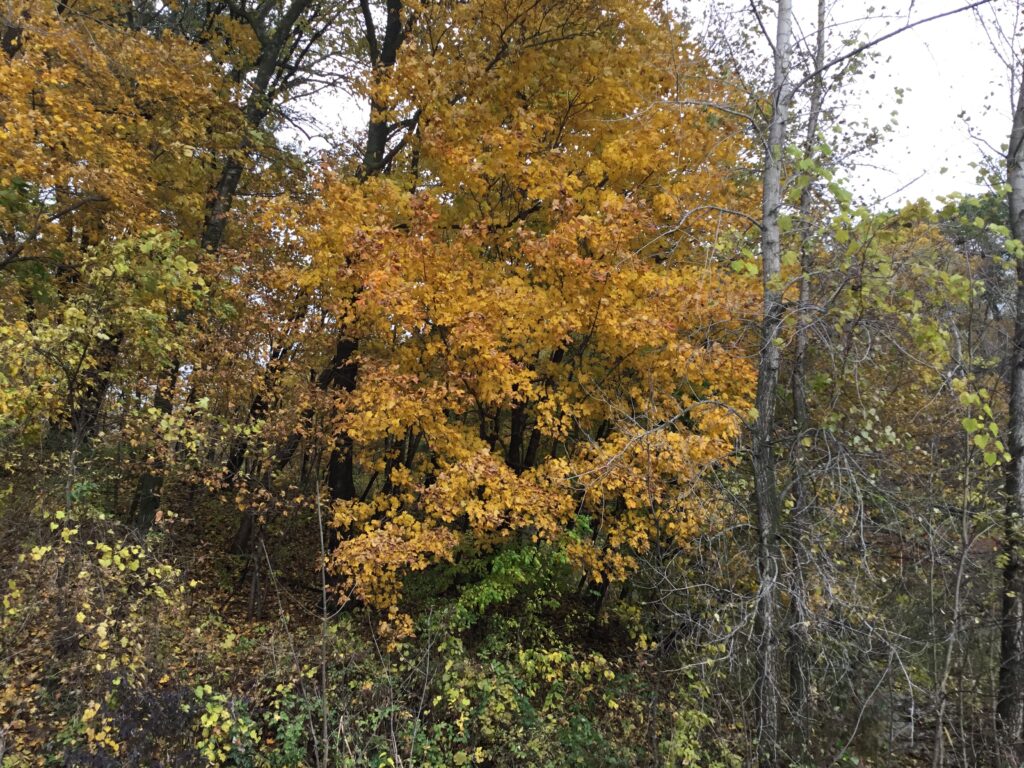
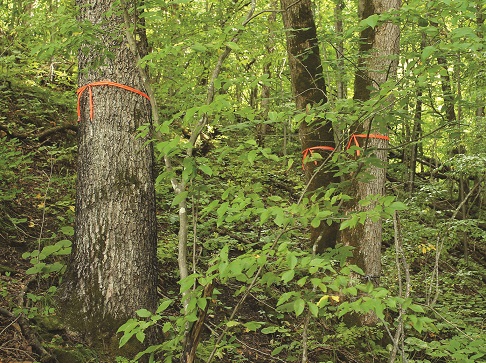
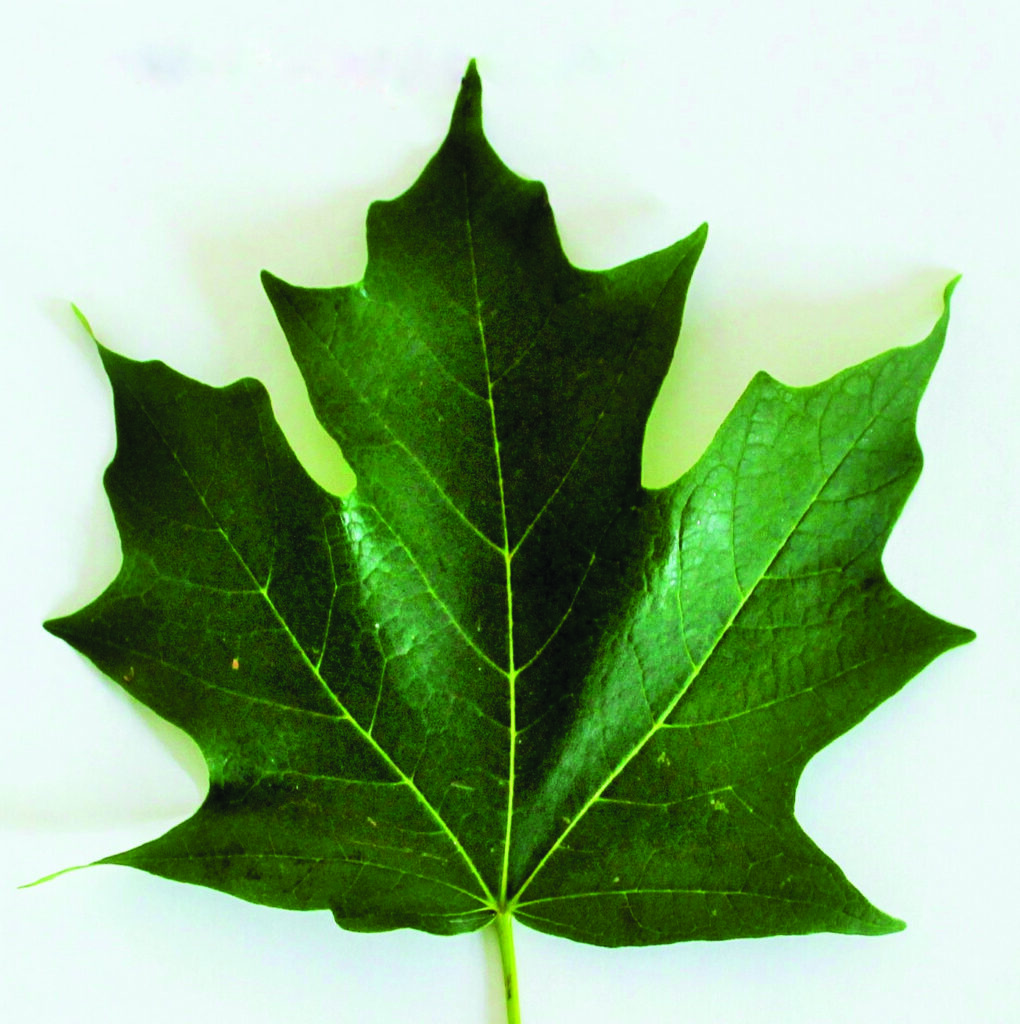
Step #2 (time required 5 minutes or less): Find a tree or two. The best choice for the sweetest syrup is to tap a sugar (or hard) maple tree but you can also try silver maple, box elder, or even birch (much more info on that in our book.). The best way to identify a sugar maple is to go out in the fall and a) look at the leaf color – sugar maples typically have the most colorful red, orange, or yellow leaves or b) look for the seeds (those little “helicopter” seeds we played with as kids). Hard maples drop seeds in the late summer or early fall and soft maples drop seeds in spring and early summer.
Over the entire season, you can expect approximately 10- to 12-gallons of sap per taphole which will boil down to about one quart of syrup. Trees can handle more than one tap but make sure you can handle more than 10 gallons! You do not have to own a plot of land in the country to find maple trees. Town syrup is just as sweet as country syrup – in fact, recent research has shown that “boulevard” grown trees actually produce more sap than forest-grown trees because they have more space to grow. The one note here: don’t tap trees that live in areas treated with chemicals such as pesticides or herbicides used on lawns.
Step #3 (time required 30 seconds per day): Watch the weather. Now comes the waiting and watching portion of this hobby (we know, this is kind of like other parts of winter.) What you’re looking for is a forecast that includes a pattern of cold nights but warming days. Sap starts to run when nighttime temps fall below freezing but daytime temps get into the 40°Fs. This usually happens around January or February and once you see this pattern forecasted for the next week or so, it’s time to get out there and tap your trees. Don’t try to get a head start by tapping before this weather pattern emerges – that could cause your spile to freeze inside the taphole which could damage the tree. Tapping is so quick you don’t need to do it ahead of time!
Step #4 (a few weeks, hopefully): Once the sap runs, you’ll go out every day and collect it at the tree. Depending on how you’re cooking, you’ll spend a few hours boiling (this is literally just boiling water so all you need to do is keep an eye on it and keep the heat on). The full boiling, filtering, and bottling process is covered in this article: “How to Make Maple Syrup”.