How to Measure Sugar Content in Pure Maple Syrup.

Pure maple syrup should be between 66 and 68 Brix when tested with a refractometer or hydrometer . . . whoa, is that too many technical terms for you? Don’t worry, this article will explain it all and show you how easy it is to use these tools and produce the best quality syrup you’ve ever had. Most professional sugarmakers (and many home hobbyists) use two tools to measure sugar content — hydrometers and refractometers. Keep reading for more info on each.

Hydrometers

The more dense the liquid, the more sugar it contains — the hydrometer measures this relative density. Most hydrometers use a common scale of degrees Brix (shown as °Bx) which shows the sugar percentage of the liquid. One °Bx equals 1% sugar content. For pure maple syrup, the target density range is between 66% and 68% sugar content (shown on the hydrometer as 66° Brix or 35.6° Baume). Many states have a required Brix scale for folks selling maple syrup so if you’re going to market you must test your syrup.

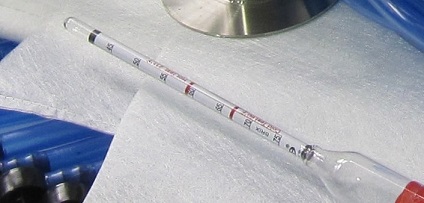
This tool is fairly inexpensive and consists of a tall metal cup and the marked hydrometer tool which looks sort of like an old fashioned thermometer but much bigger. Be sure you buy the type of hydrometer calibrated for syrup making as they’re also sold for beer and wine. It’s also another one of those tools that will last for many seasons if you take good care of it. Typically these hydrometers are calibrated to measure cold syrup (at 60°F) or hot syrup (at least 211°F) and will be marked with a cold test and hot test line.

metal hydrometer tube hanging on the side of a steaming maple syrup evaporator pan
A hydrometer hangs on the side of a maple syrup evaporator as steam rises from the evaporator. The operator uses the hydrometer to test whether the syrup is done.

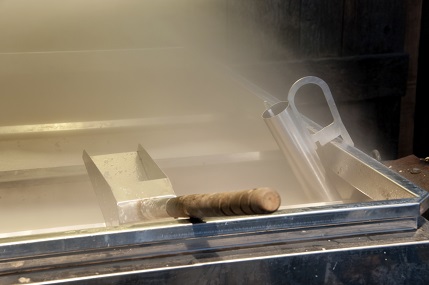
To use the hydrometer, first place the cup in a level pan with a lip as syrup will splash over the sides (or hang over the side of evaporator pan as shown here). Fill the cup with syrup to within ½” or so of the rim. Immerse your thermometer and make sure it reads at least 211°F if testing hot. Then carefully lower in the hydrometer – do not drop it in! It will float and the red line should be even with the surface which indicates the Brix reading. If in the proper range, return this syrup to the pan and continue with filtering and bottling.

hydrometer measurement

If you find the red line floats below the surface, syrup must be boiled longer and tested again. If the red line floats above the surface, syrup is “heavy” and too sugary or dense and you’ll need to add partially-boiled sap, cook a bit longer, and retest. While extra-sugary syrup sounds yummy, it will be more like maple sugar once it cools. After you’re done testing, be sure to rinse the hydrometer in hot water so no syrup accumulates on the device. Be careful, it is fragile!

Refractometers

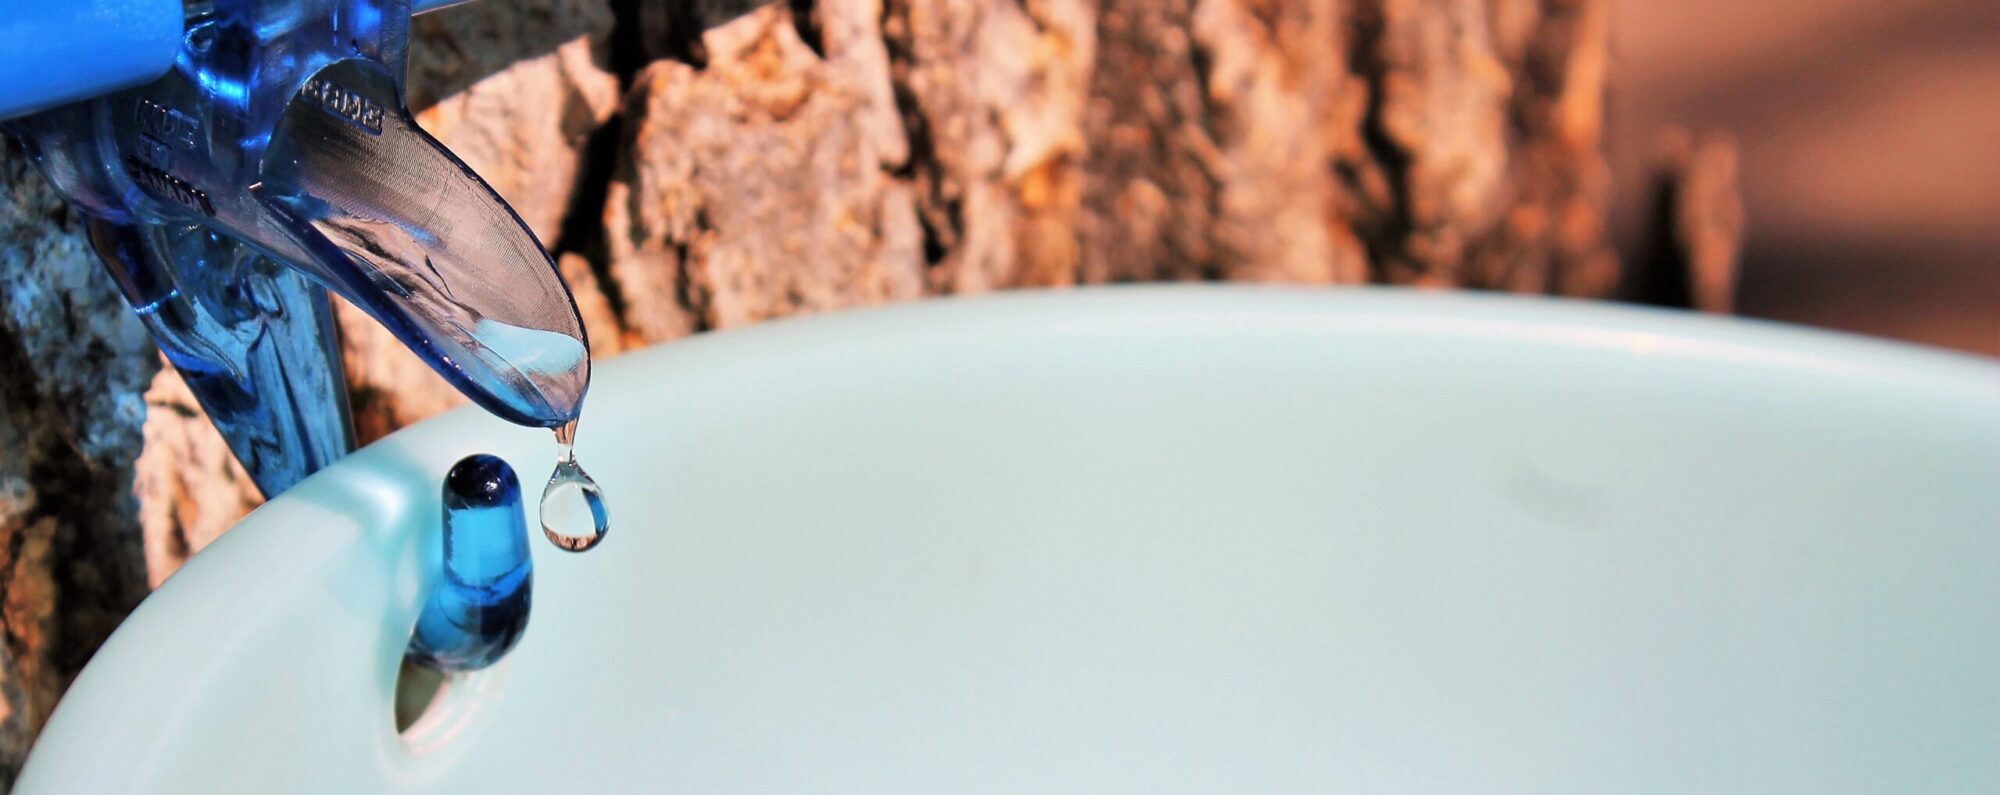
Simpler to use but quite a bit more expensive, a refractometer (either manual or digital) determines sugar concentrations by measuring how light is refracted through a sugary solution. Typically a drop of sap or syrup is placed in a little cup at the end of the device and it’s held up to light (or with digital devices, just push a button). As light passes through the syrup, it’s refracted and the tool is designed to pick this up and measure it on the Brix scale. Refractometers, though, come with different scales – a low scale to measure sap and a higher scale to measure syrup.

See it in action

You know how much we love the folks at our country’s Extension offices! They provide such an incredible wealth of knowledge for all things outside and are generally pretty nice people who love to help. And they did not disappoint us here – we found this great video from the University of Maine Extension services that shows each of these tools in action and does a great job explaining how they all work.

If you’d like to learn more about other steps of the sugarmaking process, click here to look through our library of How To articles.

How to Filter Sap

Sediment (sugar sand or niter) in maple syrup.

If you’ve ever seen sediment, cloudiness, or even chunks of sugar in your pure maple syrup, you know what sugar sand (aka niter) is! This is a perfectly edible (and natural) component of syrup but it can easily be removed with filtering. Most sugarmakers filter sap and syrup three times and this article and video describes that quick and easy process. Be sure to use professional filters designed for syrup making (not coffee filters, cheesecloth, or dish towels).

Filters are inexpensive and reusable so it’s a one-time purchase as you get started. We use one-quart filters which are a more manageable size for the home sugarmaker. They fit perfectly into a standard sieve stand and have small slits in each side so you can thread a dowel through and easily balance on the sieve stand so you have both hands free for pouring hot syrup. 

Filters are included with many of our kits but you can also buy them separately here.

Note: If you’re making black walnut syrup, don’t use the Orlon or a similarly thick filter. Walnut sap contains more pectin than maple sap so it’s too thick to run through this type of filter. Try cheesecloth or a thin strip of clean muslin.

This short video shows the entire process: 

Filter #1: This step is done each day as you collect sap to remove debris that may have fallen into your sap bucket (one more reason to use a closed lid system!). Suspend the thinner prefilter over a clean bucket and slowly pour the sap through to seine out debris. When done, rinse this filter with plain hot water, air dry, and save for later. Refrigerate or freeze the sap until ready to boil.

maple-syrup-final-filter-one-quart-julie-fryer-maple-tapper.jpg

Filter #2: This step occurs midway in the boiling process as sap reaches a temperature in the 215°F range. At this point, concentrated sap is moved from the larger pan or evaporator and poured through a thin prefilter into the finishing pot. This removes the majority of sugar sand which can make syrup cloudy.

Filter #3: The third and final filter is done after the sap has reached its finished temperature and is poured into bottles. For this filtering, put the thinner prefilter inside the thicker Orlon filter.  Slowly pour the finished sap through these filters and into clean, hot bottles or jars. Syrup is now done!

Cleaning Filters. As mentioned earlier, these filters are reusable and should last for years if cared for properly. Never wash with detergent or dish soap as this can affect the flavor of finished syrup. After use, simply rinse well in hot water and hang to dry. Do not wring or twist the filters as this can tear them or alter their shape.

 If you’d like to learn more about entire boiling process, click over to this helpful article, “How to Make Maple Syrup.”

Sugar Sand

cloudy sediment in a jar of brown pure maple syrup

Does your maple syrup have gritty sediment at the bottom of the jars or does it look cloudy? This is the result of sugar sand (also called niter) and every sugarmaker has dealt with it in their syrup-making career. While it’s not very appetizing and can sometimes affect taste, sugar sand is not a sign of spoilage or bad syrup. This article will explain what it is and how to avoid it.

What is sugar sand (or why is my syrup cloudy)?

The maple sap you started with is really the tree’s food and along with lots of water, it contains natural minerals. As you boil off the water, these minerals become concentrated and form into niter. Pouring hot sap and syrup through proper sugarmaking filters before bottling will keep sugar sand out of the syrup. The process is simple and quick but you have to use filters designed for syrup. Watch our quick filtering video here.

One issue we found when we first started making syrup was the big filters were difficult to manage on our own (especially when handling hot, sticky syrup!). But last year we added a smaller one-quart filter kit that also fits into traditional sieve stand holders. This makes for one-person handling and is super easy to fill the jars. 

Don’t skip this step!

Syrup needs to be filtered three times: once right after you collect it to get out debris (use the thin pre-filter); again after the first boil and before you transfer it to the finish pan (also use the pre-filter); and finally at the finished 219-degree stage (this time use the prefilter nestled inside the thick filter). I usually just set everything up before I start boiling and keep it close to my bottling area. This keeps the temperature up while pouring and is a really seamless part of the process.

Just wash and reuse.

These filters are washable — just rinse in hot water (no soap or detergents, please) and then hang to dry for next use. Do not wring out or twist as that will damage the fibers. With proper care, these filters will last for many seasons.

Hydrometer and Pro Tips

Of course, cloudy syrup is not a big deal for the home hobbyist but if you’re selling syrup, it’s an absolute no-no. That’s why most large sugarmakers also use a hydrometer – not only does it guarantee the proper sugar content but allows for exact grading and eliminates sugar sand. Some maple syrup makers also let their syrup sit for awhile so the sugar sand sinks to the bottom. They then carefully pour off syrup from the top, reheat it, filter it, and bottle. The remaining bottom portion (with niter) is thrown out or also reheated, filtered, and bottled. This is somewhat wasteful and creates an additional step in the process.

 Start your season out right with our professional one-quart sugarmaking filters! Designed for the home sugarmaker in mind, this quick step makes all the difference in clear syrup. Shop for filter kits here.