Measure flour, baking powder, salt, and baking soda into a large mixing bowl.
In a separate bowl, combine egg, buttermilk, brown sugar, and oil.
Pour wet ingredients into dry ingredients and stir just until moistened. Batter should be slightly lumpy. Let batter rest while you heat the pan.
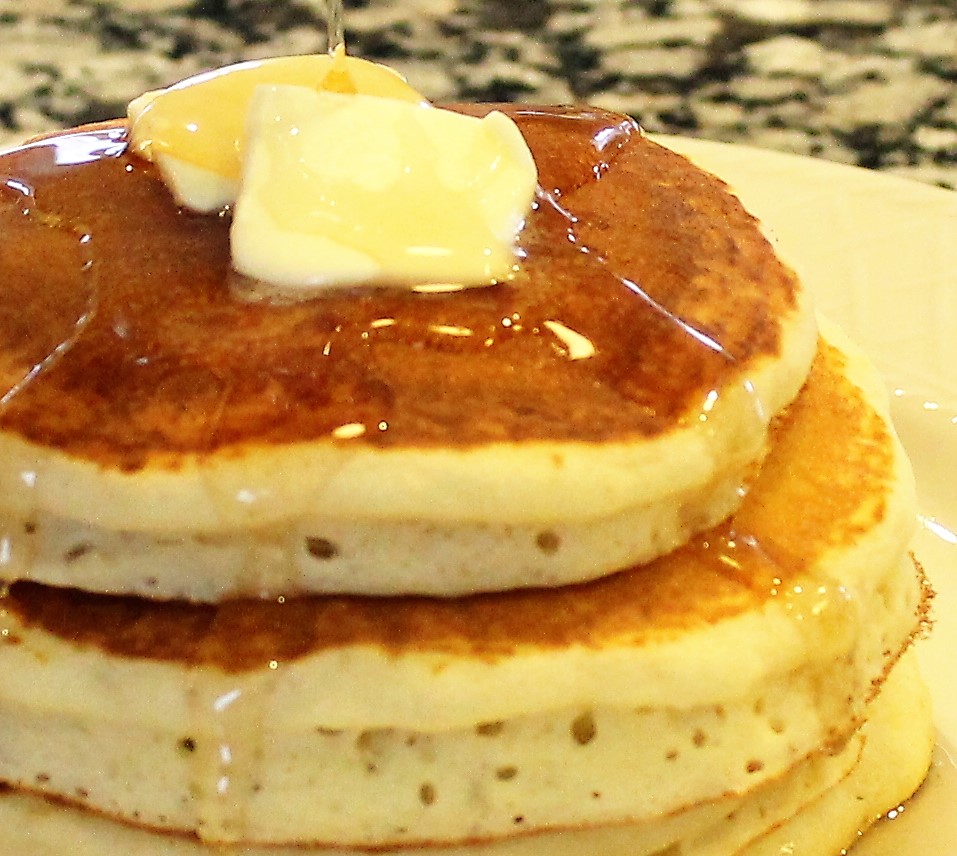
Lightly spray or oil your griddle and preheat over medium heat. Pour ¼ cup of batter for each pancake onto hot griddle.
Flip the pancake when bubbles start to appear on the surface. Serve with warmed pure maple syrup.
How to Make Fun Pancake Shapes
Add 1 TB of milk or water to approximately 1/3 cup of batter and pour into a squirt bottle (a clean reused ketchup bottle works great). On a preheated skillet, draw the outline of the shape you’d like and let cook for about 20 seconds. Then fill in this outline with regular pancake batter and cook as usual.
Even easier: Use a large cookie cutter and cut out the middle of the pancake after it’s already cooked.
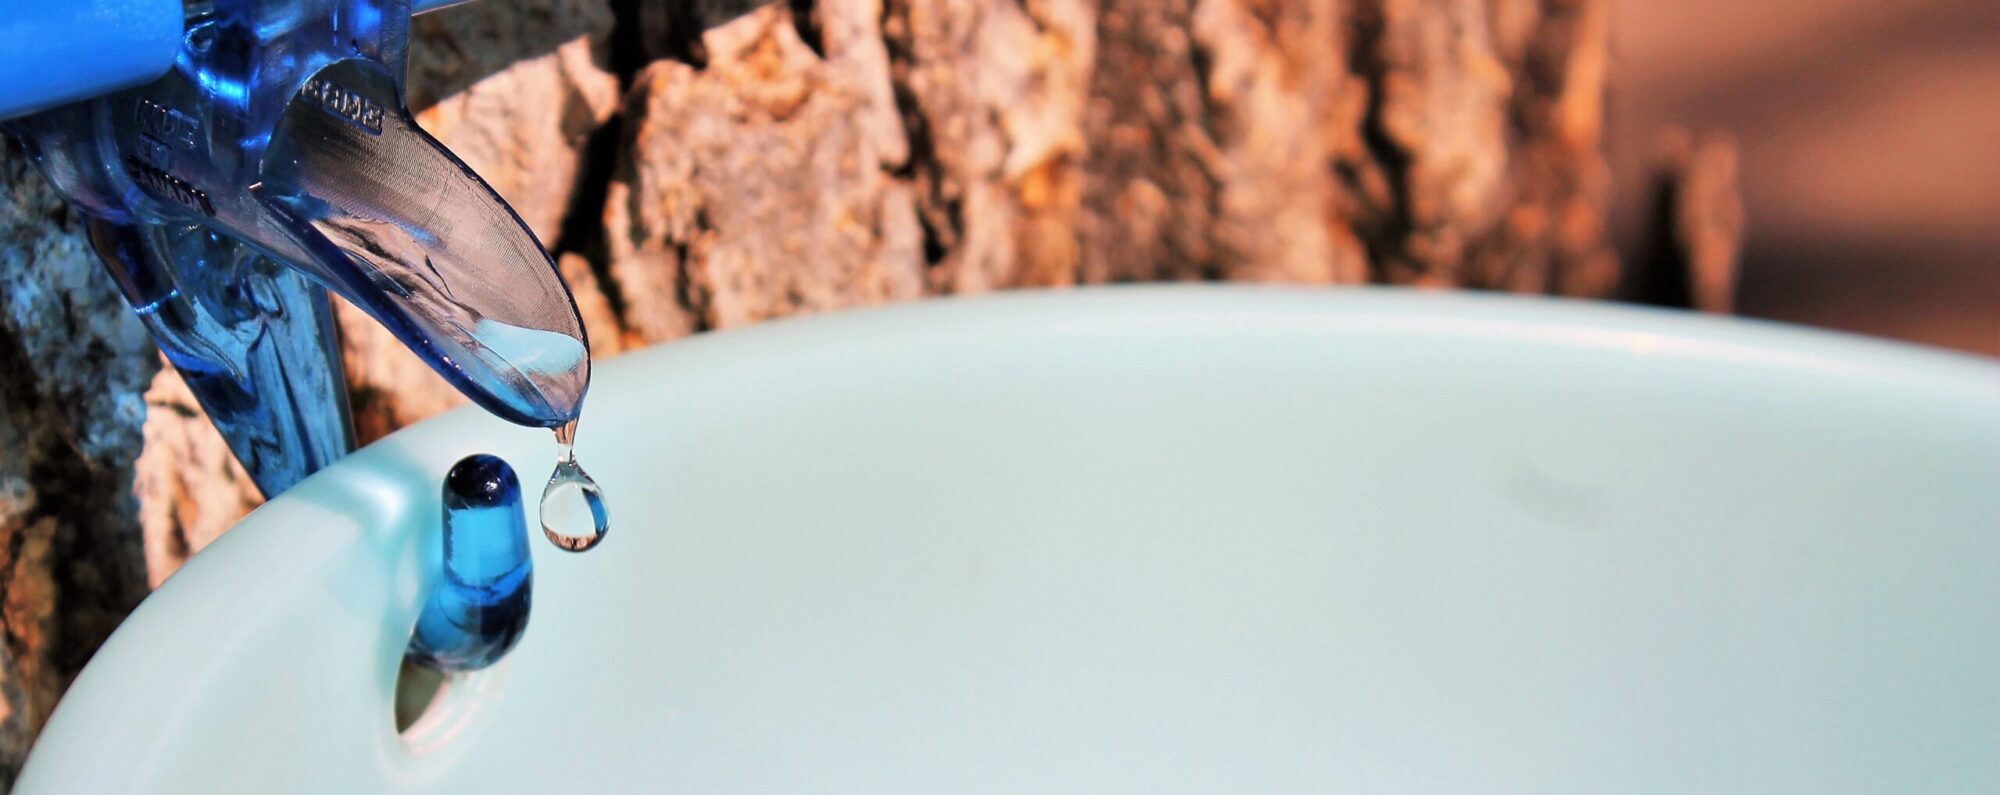
Would you like to make your own pure maple syrup? It’s much easier than you think! Click here for our How-To Library with everything you need to know.
Would you like to get new maple syrup recipes each week during tapping season? Click here to sign up for our newsletter and you’ll also get a FREE Quick Guide to Maple Tapping” ebook.
2large tart-variety apples, peeled and diced in small cubes
1cupdried cranberries
1tbspbutter
½tspcinnamon
½cuppure maple syrup (reserve approx. 2 tbsp for drizzle)
½tspbalsamic vinegar
1roundbrie cheese, rind removessliced into thin rounds
olive oil
1/2cupfeta or goat cheese crumble
rosemary sprigs for garnish
baguette, thinly sliced
Method
Assemble first six ingredients for topping and preheat oven to 375°F.
Slice baguette and lightly brush slices on both sides with olive oil and arrange on baking sheet. Bake for approximately 3 minutes, flip and bake another 2 minutes until bread is lightly toasted.
While bread is toasting, melt butter in sauté pan and add apples and cook until tender. Add cinnamon, syrup, and cranberries and cook for another 2 minutes. Finally add balsamic vinegar and warm through.
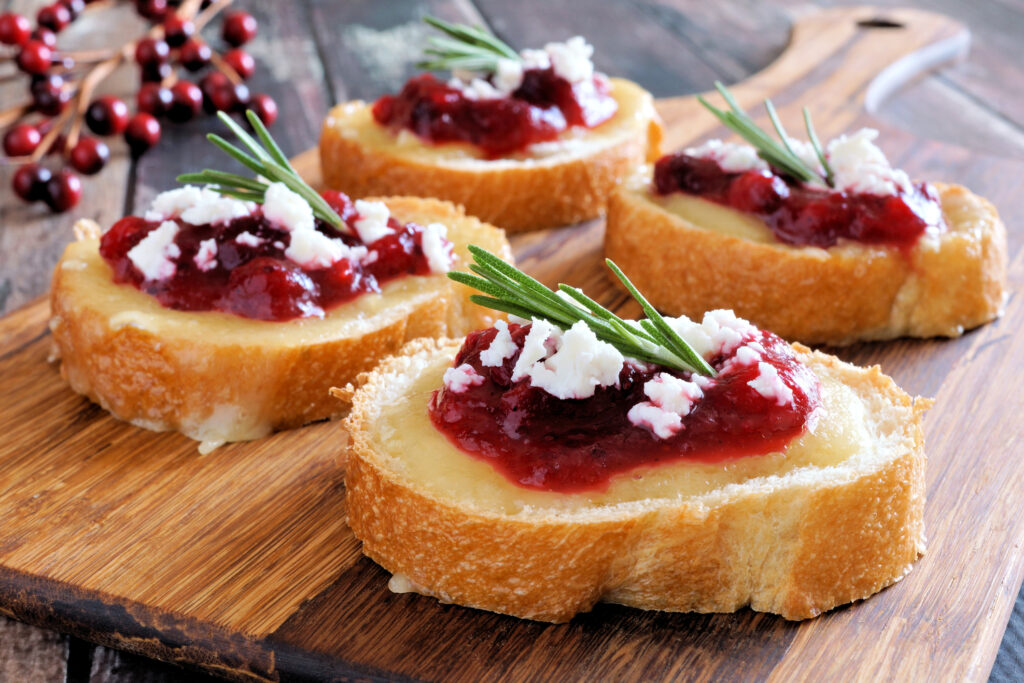
Keep topping warm until toasts are ready. When bread is done, remove from oven, put on slice of brie, scoop on topping, sprinkle with feta crumbles, garnish with sprig of rosemary, and drizzle with extra syrup. Serve warm.
Notes
To make ahead: pretoast bread and make topping. Right before serving, keep cheese at room temp and reheat the topping before assembling.
Combine marinade ingredients (keep back the extra 2 TB of syrup) and whisk together in small bowl.
Cover pork tenderloin with marinade and refrigerate for at least 3 hours.
Preheat oven to 400°F or heat grill to medium high heat.
Remove tenderloin from marinade (discard marinade.) Place in roasting pan or directly on grill, brush with remaining maple syrup, and cook uncovered for approximately 8 to 10 minutes.
Flip tenderloin over and cook for another 10 minutes or until a meat thermometer reads 150 ˚F at the thickest portion of the loin.
Remove from oven, wrap loosely in tinfoil, and let rest for 5 to 10 minutes. Slice into medallions.
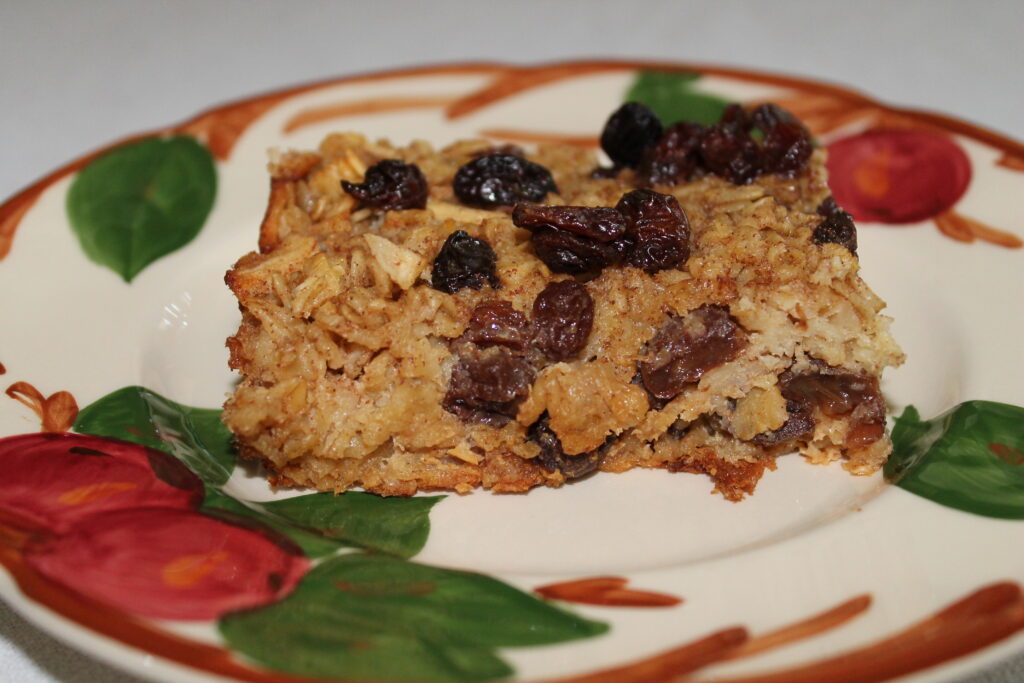
Make this for breakfast and your kids will ask for more! Can easily be made the night before and baked in the morning (or even reheated the next day). Great nutrition with lots of fiber, protein, and no white sugar. Swap out the raisins for dried cranberries, dates, or apricots. Add a few tablespoons of ground flaxseed meal for even more good stuff!
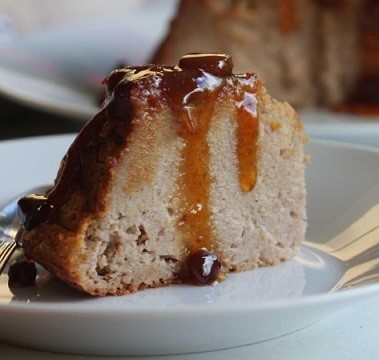
Baked Oatmeal with Raisins, Apple, and Maple Syrup
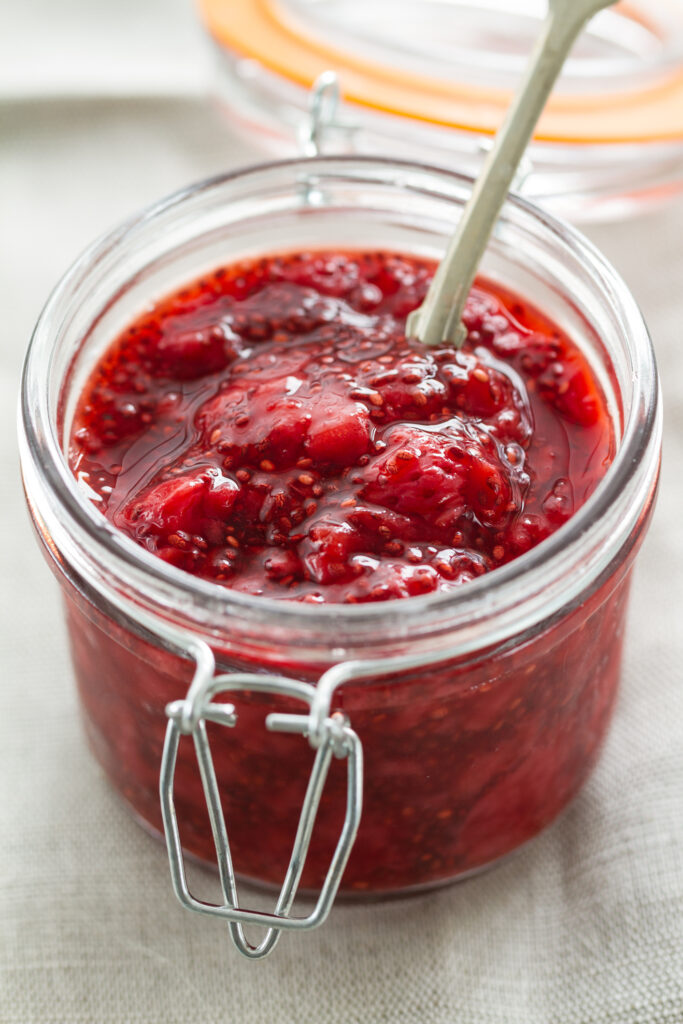
Closeup of tasty appetizing fruit strawberry jam with chia seeds in jar. Selective focus.
A delicious and nutritious spring favorite with no refined white sugar. A great sweet-tart combo for your morning toast. Makes approximately 2 pints and can be frozen for up to 3 months.
3tbspchia seeds(may need more depending on juiciness of rhubarb)
Method
In sauce pan over medium heat, cook rhubarb, strawberries, orange juice, and maple syrup until it comes to a boil.
Reduce heat to medium low and let simmer for about 15 minutes until fruit breaks down. Stir occasionally to keep from burning and use a potato masher to break up big chunks.
Reduce heat to low and stir in chia seeds and let simmer for another 15 minutes.
Turn heat off and let sit for 10 minutes. (Chia seeds will expand as it cools, thickening up the jam.)
Scoop jam out with a spoon — it should slide slowly down the spoon. If not, add another tablespoon of chia seeds and let sit for another 10 minutes.
Refrigerate for up to 4 weeks or freeze in an airtight container for up to 3 months.
If you’ve ever seen sediment, cloudiness, or even chunks of sugar in your pure maple syrup, you know what sugar sand (aka niter) is! This is a perfectly edible (and natural) component of syrup but it can easily be removed with filtering. Most sugarmakers filter sap and syrup three times and this article and video describes that quick and easy process. Be sure to use professional filters designed for syrup making (not coffee filters, cheesecloth, or dish towels).
Filters are inexpensive and reusable so it’s a one-time purchase as you get started. We use one-quart filters which are a more manageable size for the home sugarmaker. They fit perfectly into a standard sieve stand and have small slits in each side so you can thread a dowel through and easily balance on the sieve stand so you have both hands free for pouring hot syrup.
Filters are included with many of our kits but you can also buy them separately here.
Note: If you’re making black walnut syrup, don’t use the Orlon or a similarly thick filter. Walnut sap contains more pectin than maple sap so it’s too thick to run through this type of filter. Try cheesecloth or a thin strip of clean muslin.
This short video shows the entire process:
Filter #1: This step is done each day as you collect sap to remove debris that may have fallen into your sap bucket (one more reason to use a closed lid system!). Suspend the thinner prefilter over a clean bucket and slowly pour the sap through to seine out debris. When done, rinse this filter with plain hot water, air dry, and save for later. Refrigerate or freeze the sap until ready to boil.
Filter #2: This step occurs midway in the boiling process as sap reaches a temperature in the 215°F range. At this point, concentrated sap is moved from the larger pan or evaporator and poured through a thin prefilter into the finishing pot. This removes the majority of sugar sand which can make syrup cloudy.
Filter #3: The third and final filter is done after the sap has reached its finished temperature and is poured into bottles. For this filtering, put the thinner prefilter inside the thicker Orlon filter. Slowly pour the finished sap through these filters and into clean, hot bottles or jars. Syrup is now done!
Cleaning Filters. As mentioned earlier, these filters are reusable and should last for years if cared for properly. Never wash with detergent or dish soap as this can affect the flavor of finished syrup. After use, simply rinse well in hot water and hang to dry. Do not wring or twist the filters as this can tear them or alter their shape.
If you’d like to learn more about entire boiling process, click over to this helpful article, “How to Make Maple Syrup.”