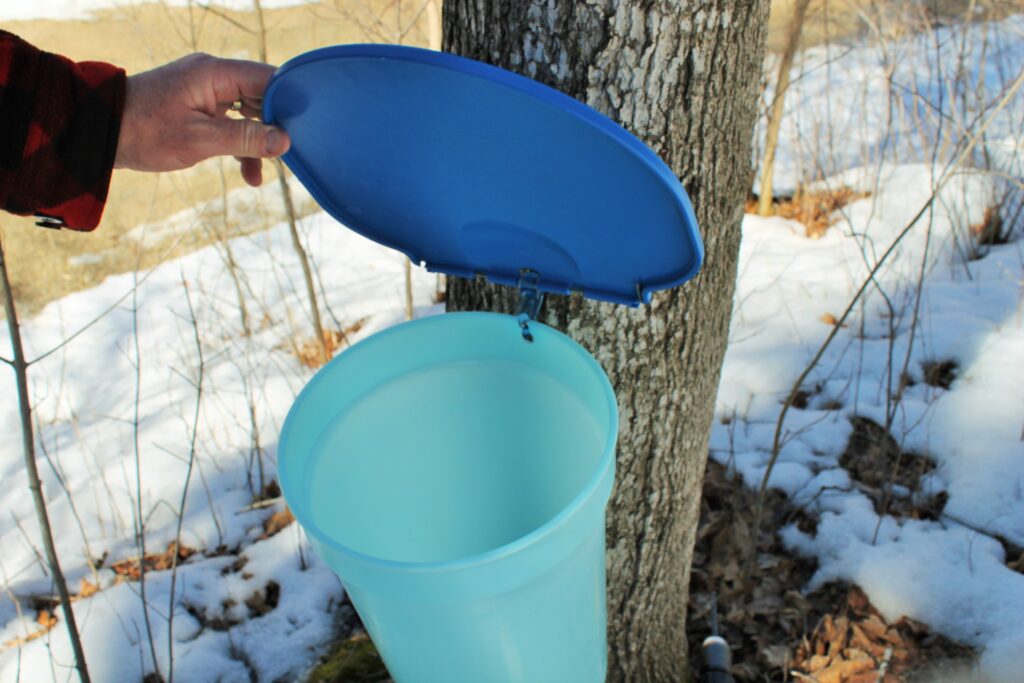
This is one great all-in-one kit that holds a lot of sap, is very lightweight, and is easy to handle. Plus the blue color really shows up well in the woods. Once you’ve drilled your taphole, putting this bucket in place is as easy as 1-2-3.
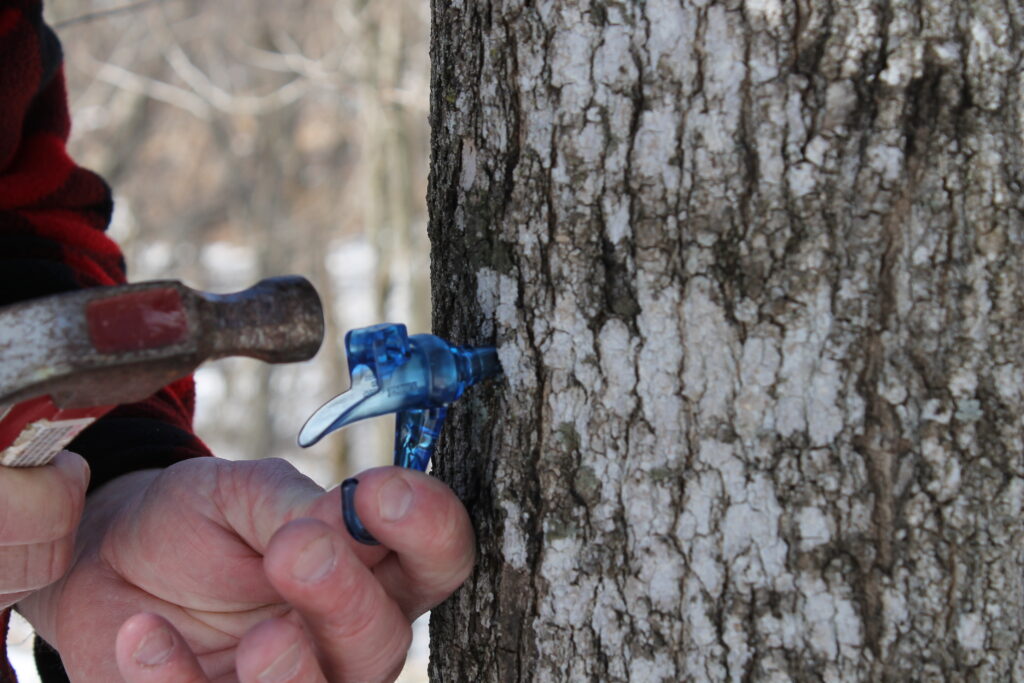
Step One: Insert the blue spile and gently tap on the upper knob. Do not tap on the spout end as it may crack.

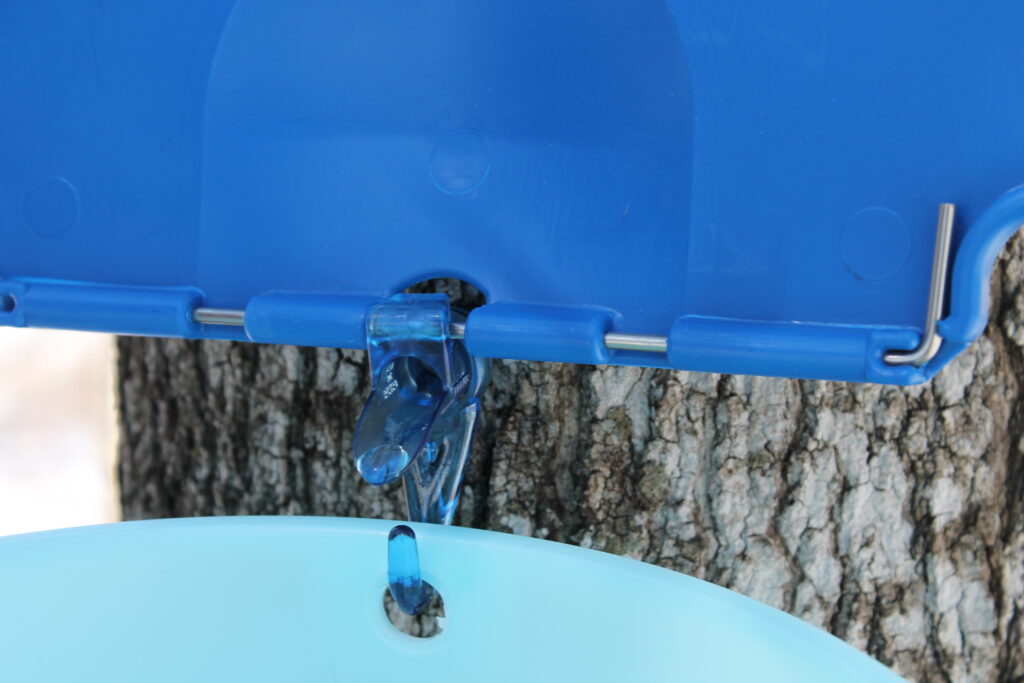
Step Two: Thread the metal rod through the hole in the spile, making sure it goes through brackets in the bucket lid. Once in place turn the bent end so the rod is locked in place.

Step Three: Hang the bucket on the hook and close lid. For extra stability, bungee cord or tie the bucket loosely to the tree.
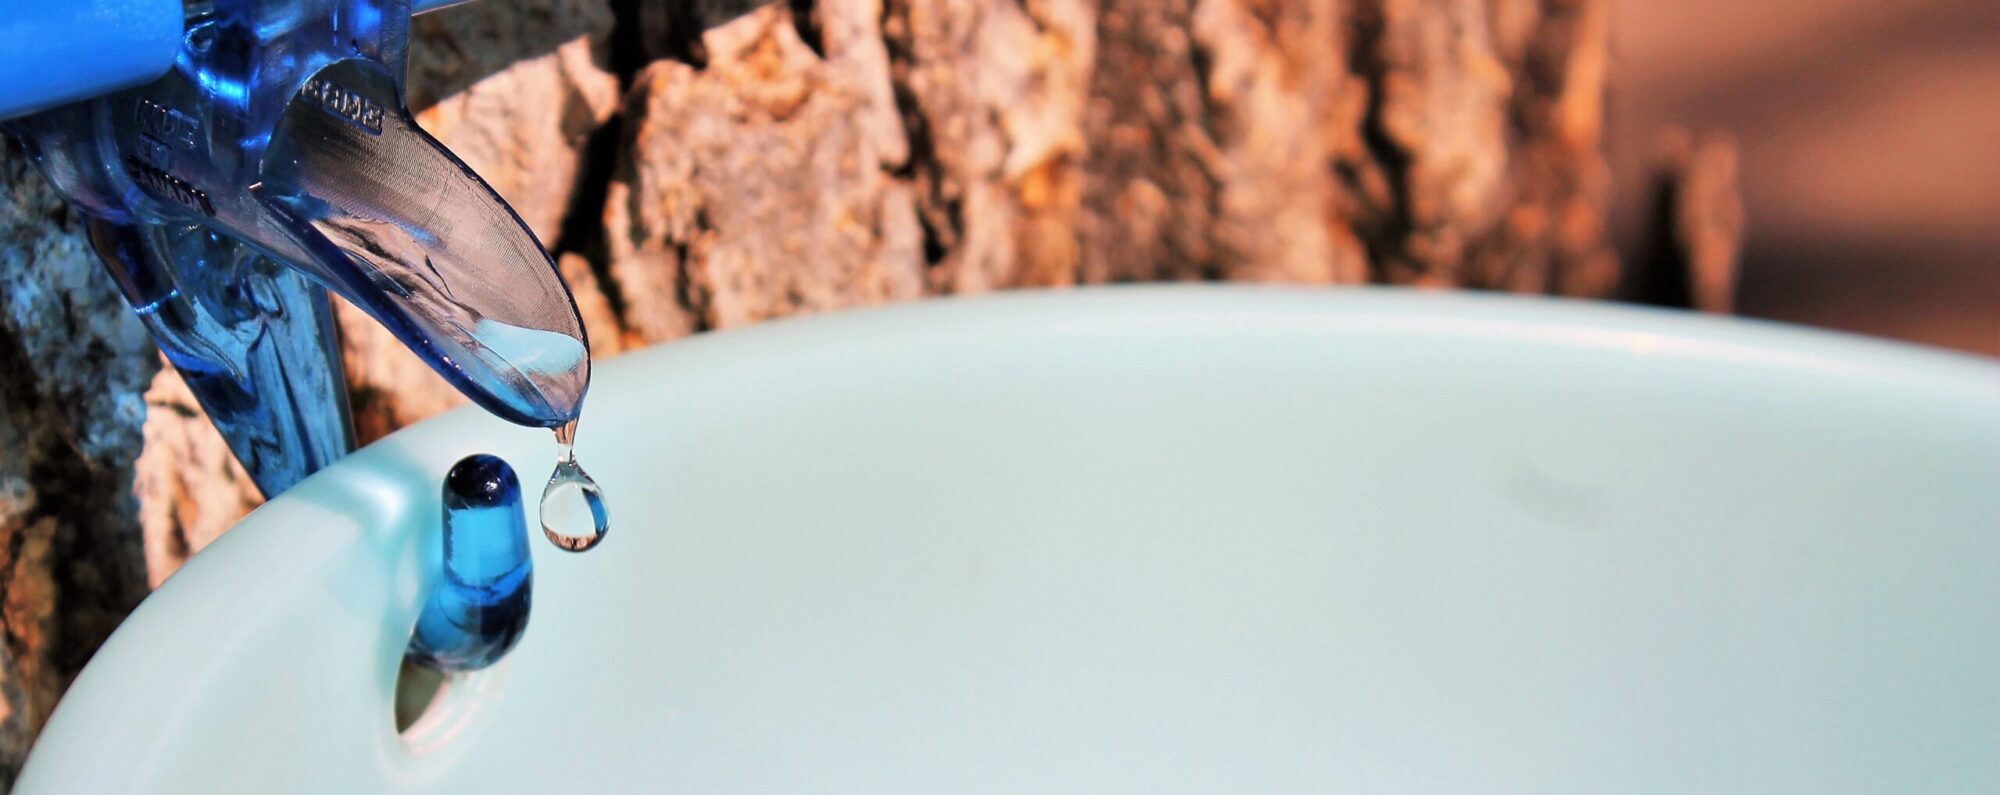
Now you just need to let nature take its course! Most likely the sap will already be running by the time you get the bucket hung up – just come back each day to empty your buckets. Again, this is quite simple. It’s best to bring a few food-grade “transfer” buckets with you to collect your sap. Carry this bucket to each tree – hopefully you’re using a sled attached to an ATV or snowmobile. Empty the full bucket into the transfer bucket. Don’t worry about bugs or debris as they’ll be filtered out when you get home. Replace your buckets and take your bounty home!
Once you’re done tapping for the season, inspect your equipment for damage. This system should last for many seasons but can suffer damage from normal wear and tear. Wash your buckets, spiles, and lids with warm water. Do not use dish soap as it may leave residue which can be absorbed by the sap and eventually make for bad-tasting syrup. Once thoroughly rinsed, let all your equipment air dry and store away for next season.
For more detailed info on collecting, cooking, and using maple sap and syrup, check out our downloadable ebook and other blogs.

