Making maple syrup is an age-old activity, the sugarmaking process is not complicated, and you can easily learn everything you need to know in one season. Once you have the tools assembled, it really takes less than 5 minutes to tap a tree. This section will first give you step-by-step tapping instructions and then answer a few common questions people have about sugarmaking. Much more detailed information can be found in our book, Guide to Maple Tapping, which is included in every kit and also available electronically. Additionally, our video and article library includes how-to videos and instructions on selecting a tree, drilling the hole, and using each of our systems. Please check back often as we’re updating all of these resources with new material.
Step One: Identify and Mark Your Trees
Hard maples, also called sugar maple, black maple, or rock maple, have the highest sugar content and produce the best tasting syrup. You can also tap the red or silver maple but the sugar content is lower so you’ll have lower syrup yields and longer boil times. Folks also tap the box elder tree and the finished product has a heavy, sorghum-like flavor.
The best time to identify a maple tree is in the summer or fall when it is in full leaf. Maple trees all have the same characteristics with slight and subtle variations between each subspecies of tree. Consult an illustrated tree reference guide for more details. Common but distinctive features of maple trees include:
- Helicopter seeds (technically called samaras) with two v-shaped wings that flutter down and away from the tree. Hard maples drop seeds in the late summer or early fall and soft maples drop seeds in spring and early summer.
- Separately lobed leaves – typically five lobes prominent valley between each lobe. Hard maples typically have a “U” shaped valley and soft maples have a more “V” shaped valley.
- Hard maples have darker green leaves with smoother points and the most vivid orange, red, and yellow fall colors. Soft maples have a lighter yellow-green color, much pointier leaves, a white or silver underside, and mostly yellow fall colors.
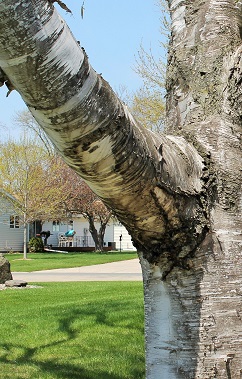
- Hard maples have light to dark gray bark with narrow, deep furrows while soft maples have a more layered, flaky bark.
- Hard maples are most prevalent in southern Canada, the Upper Midwest, the Northeastern states, and down the eastern seaboard of the United States. Sugar maples can be grown outside these areas but require climates with a freeze/thaw cycle to produce tasty sap.
Once you’ve identified the tree, choose a tree at least 12” in diameter with a full canopy of strong healthy branches. Tie weather-resistant marking tape around your tree so you can easily find it in the spring.
Step Two: When to Tap
The tapping season varies from region to region but generally starts in early March and lasts until mid-April. When the sap starts and stops running depends greatly on day and nighttime temperature fluctuations. Watch the weather forecast – sap starts flowing when the temperatures are below freezing at night but climb to the 40°F and above range during the day. If this freeze/thaw pattern is predicted, get out and tap your trees! Don’t be tempted to do it early, though, as this could cause the sap to freeze in your spiles which could damage your equipment and the tree. Remove your taps when you have enough sap or when the tree buds out as that can lead to an off or “buddy” flavor in the finished syrup.
Step Three: Drilling the Taphole
No matter what system you choose, the drilling procedure is the same. The only variation is the size of drill bit needed – most of our kits use a 5/16” spile so that is the size drill bit you’d need. Select a wood-boring drill bit and mark it with tape or a marker at 1½” from the end. This mark will show you where to stop drilling so you only go into the sapwood. Pick a spot on the tree trunk approximately four-feet off the ground below a large branch or above a large root. If using a bucket or jug that will sit on the ground, be sure your tubing will reach the bucket even after the snow melts underneath it.
Drill at a slightly upwards angle into the tree and do not go deeper than 1 ½”. Shavings that come out of the hole should be creamy or light yellow and sap will most likely start running immediately.
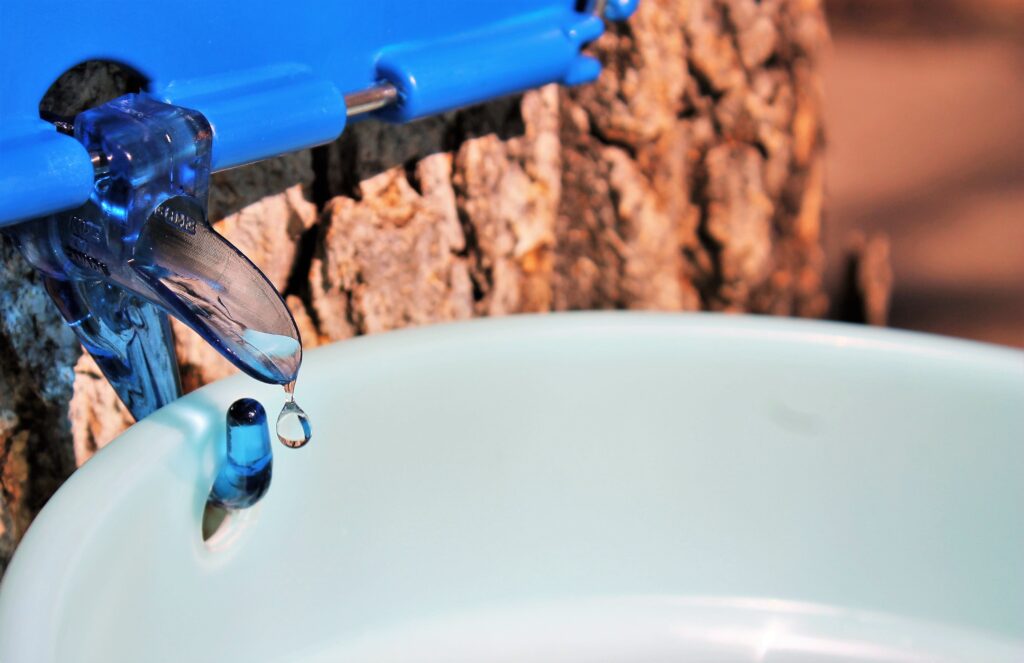
Step Four: Inserting the Spile
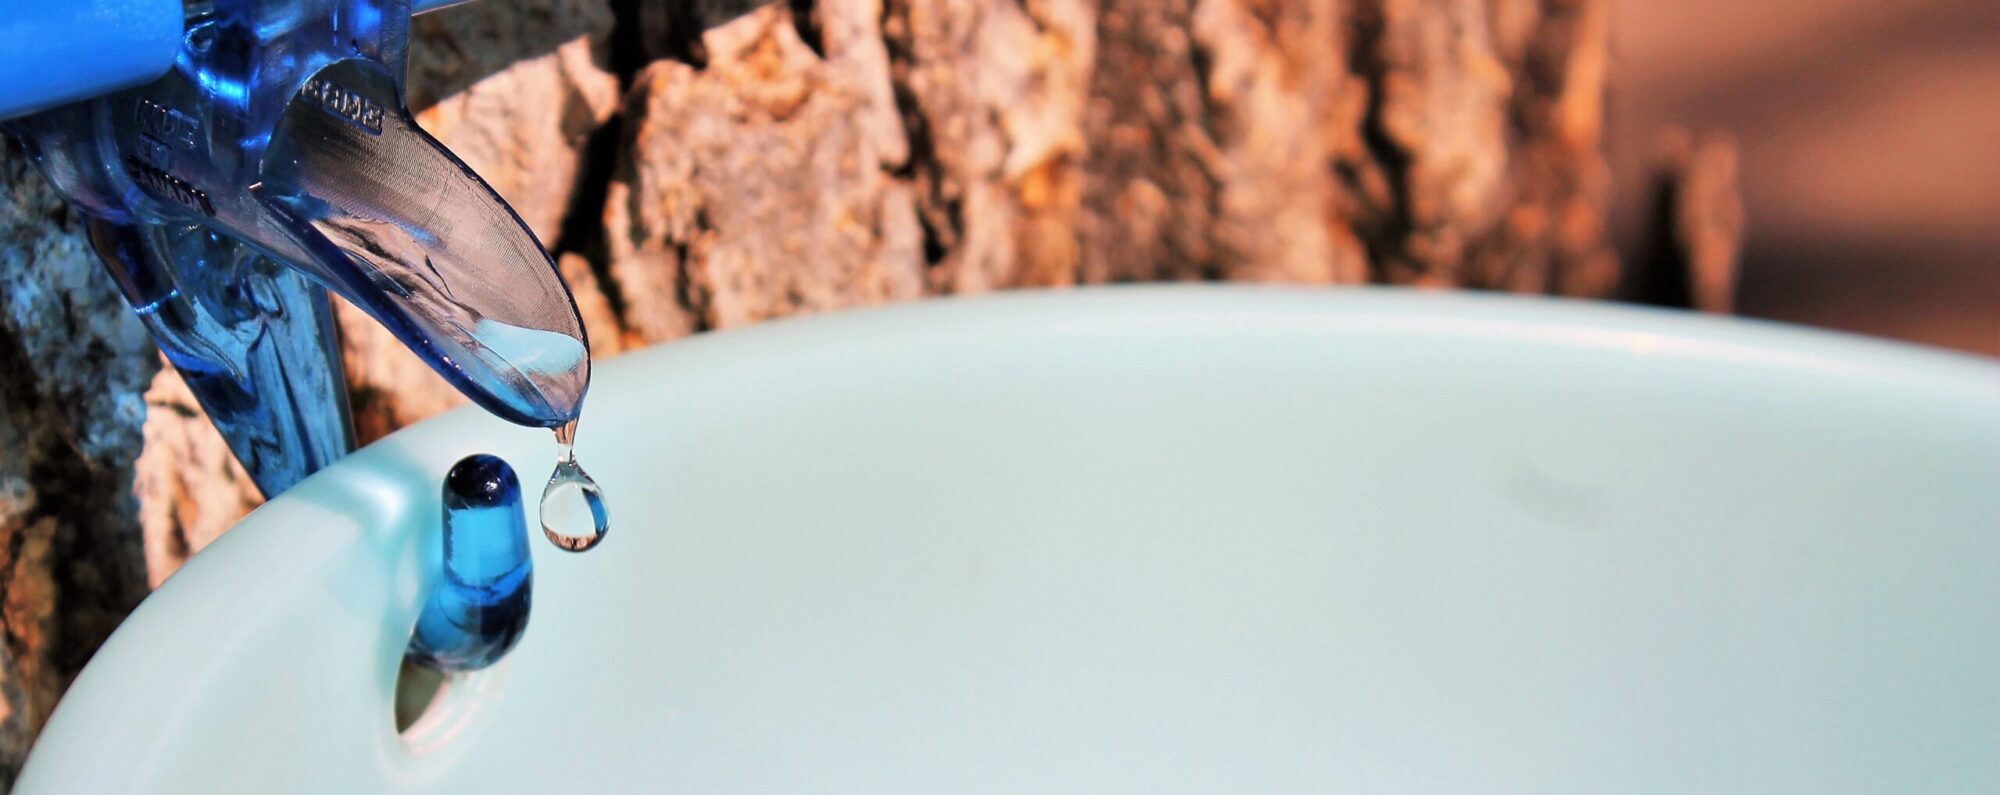
Once the hole is drilled, you simply insert the spile, gently tap it in with a hammer until it feels snug, and attach your bucket, jug, or bag to collect sap. This tap will stay in the tree for the entire season.
Step Five: Collecting Sap
Each day, you will come back to the woods to collect your sap. Sap left sitting in buckets can grow bacteria – this is not harmful as the sap will be boiled but the bacteria will eat away at your sugars which will affect the syrup’s taste. If you can’t boil your sap every day, it can be chilled for a few days until you’ve collected enough to cook. Normally, a single taphole produces between one quart to one gallon of sap per flow-period (which can last a few hours or more than a day.) Please refer to the section “How to Make Maple Syrup” for more information on filtering and boiling down your sap.
Step 6: End of Season Chores
Once you’ve collected enough sap or the trees bud out, simply pry the spiles from the tree with a small claw hammer. The taphole will heal over the summer and the same tree can be tapped year-to-year, although you cannot reuse the same taphole. Thoroughly rinse all of your equipment – do not use detergents – let air dry and store away for next season.
A Few Common Questions
Do I need special tools for tapping?
Yes: you will need spiles or taps, something to collect your sap in, and a method of attaching it to the spile. Two of the kits we have available are all-in-one systems where the spile, hook, and bag or bucket all fit together right on the tree. We also sell a tubing kit which comes with the taps inserted into the lengths of tubing which you then can direct into a bucket or use as droplines connected to a common line that leads into a bucket.
You will also need to take a few extra tools with you to the sugarbush – most of which you probably already own. A few necessities include: a drill with a wood-boring drill bit (5/16” or 7/16” depending on the spile you’re using); a marker; a small hammer; and a few five-gallon, food-grade buckets to transfer your collected sap. Depending on which type of kit you buy, you might also need jugs or buckets for collecting at each tree. Our deluxe kits include many of these extra tools.
What’s the difference between a 7/16” and a 5/16” spile?
Previous generations of sugarmakers used a 7/16” spile but research in the last decade has shown that a 5/16” spile (sometimes called the “health spile” or “tree saver spile”) causes less damage to the tree, allows for faster taphole healing, and does not reduce the sap yield when used with gravity systems such as tubing or buckets. Whenever possible, Maple Tapper uses the 5/16” spile in our kits.
How much sap or syrup will I get from each taphole?
The amount of sap each taphole yields varies greatly depending on the tree, the time of year, environmental conditions such as the weather and soil conditions, and even at what point you are in the tapping season. In a normal season, a single taphole produces approximately 10- to 12-gallons of sap. Your finished yield of syrup will depend on the sugar content of your sap. Generally, assume a 40-to-1 conversion – so 12 gallons of sap will boil down to 1 quart of syrup. With this ratio in mind, you’d need four tapholes to produce one gallon of syrup for the season.
What parts of the country produce maple sap?
Because the sap “run” is triggered by the freeze-thaw cycle, maple syrup is only produced in the Upper Midwest, the Northeastern U.S., and Canada.
Does tapping hurt the tree?
If the tree is healthy when tapped and proper tapping procedures are followed, the taphole will start healing within weeks of the spile’s removal. Many maple tree farms have been tapping the same trees for over 100 years. Each taphole, however, must be placed in a different spot on the tree from the previous year. One thing to note: the bottom 4- to 6-foot “tapping zone” will result in trees that are less valuable if cut down for lumber.
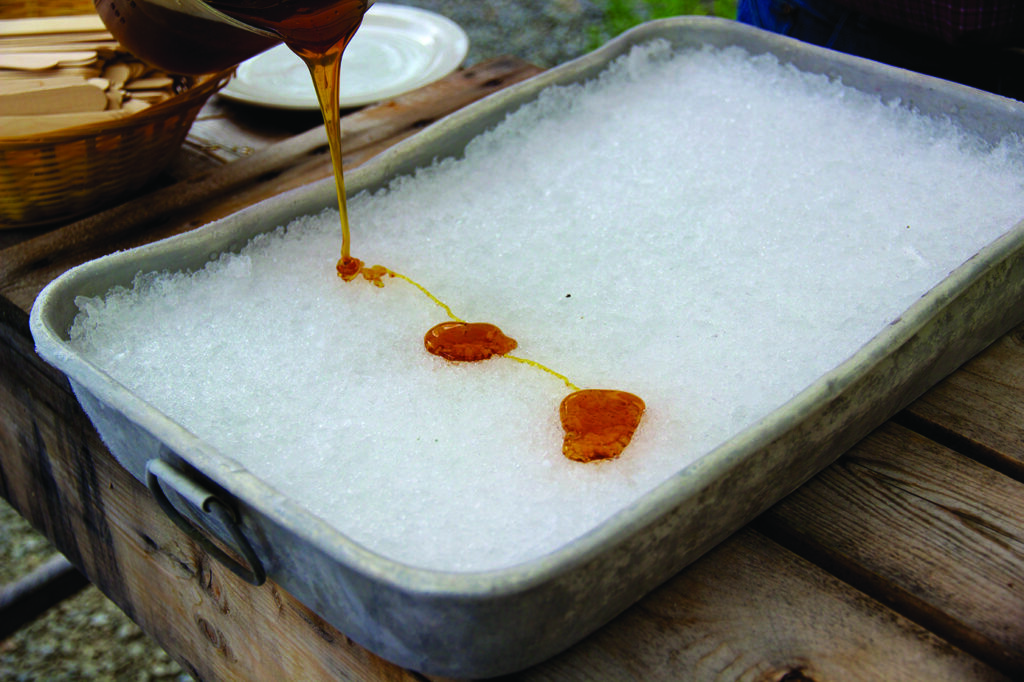
What makes sap into syrup?
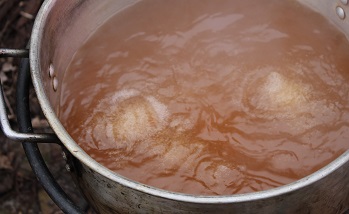
Sap becomes syrup as the water is removed through evaporation and the sugars become concentrated. The flavor of your finished syrup is created by the caramelization of the sugars during the boiling process – the longer the sap is boiled in the pan, the darker and stronger the flavors become. Flavor can also be affected by the tree’s qualities and genetics; by the time of year and method through which sap is collected; and by the cleanliness of the boiling room and storage containers. Please refer to the section “How to Make Maple Syrup” for more details on the syrup making process.
Do I need special tools for boiling?
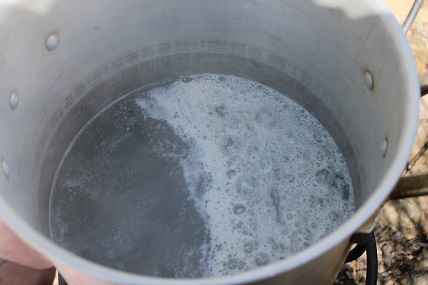
You will need an outside method of boiling down your sap. Most people use a shallow evaporator pan over a wood fire for the first stage of boiling and then a stainless steel pot on a propane burner or outside stove for the finishing stage. You will also need a candy-type thermometer with a readable, one-degree scale; food-grade, syrup-specific filters; glass jars with sealable lids; and general kitchen tools such as funnels, towels, and wooden spoons. The boiling process is covered in full detail in our book, Guide to Maple Tapping.
How long does it take to boil down the sap?
The rate at which your water will evaporate depends on numerous factors such as: pan size and construction; type of heat source; and even the temperature of sap being added to the evaporator. If using a shallow, rectangular pan with lots of surface area, it takes between 9 and 18 hours to produce one gallon of syrup. With a deep, circular pan, it can take as little as 28 hours and as long as 56 hours.
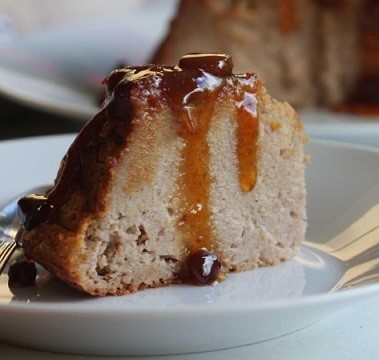
Can I use maple syrup instead of sugar in my cooking?
It is a good substitute but will impart a maple flavor to your dish. Generally, one cup of pure maple syrup equals one cup of sugar and can be swapped out in most recipes. For cookies and cakes that also use liquid ingredients, just reduce the liquids by three tablespoons for each cup of maple syrup used.
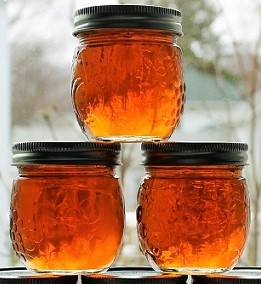
How should I store my finished syrup?
Properly bottled and sealed pure maple syrup should be stored in a cool, dry, dark place and will keep for up to one year. Maple syrup can also be frozen indefinitely – it will not harden, though, due to the high sugar content. Once opened, syrup should be stored in the refrigerator and used within six months of opening. If you notice any mold or discoloration, discard the contents as it may not be safe to eat. Also, do not store your syrup in plastic containers as the syrup may absorb odd flavors or odors from the plastic.